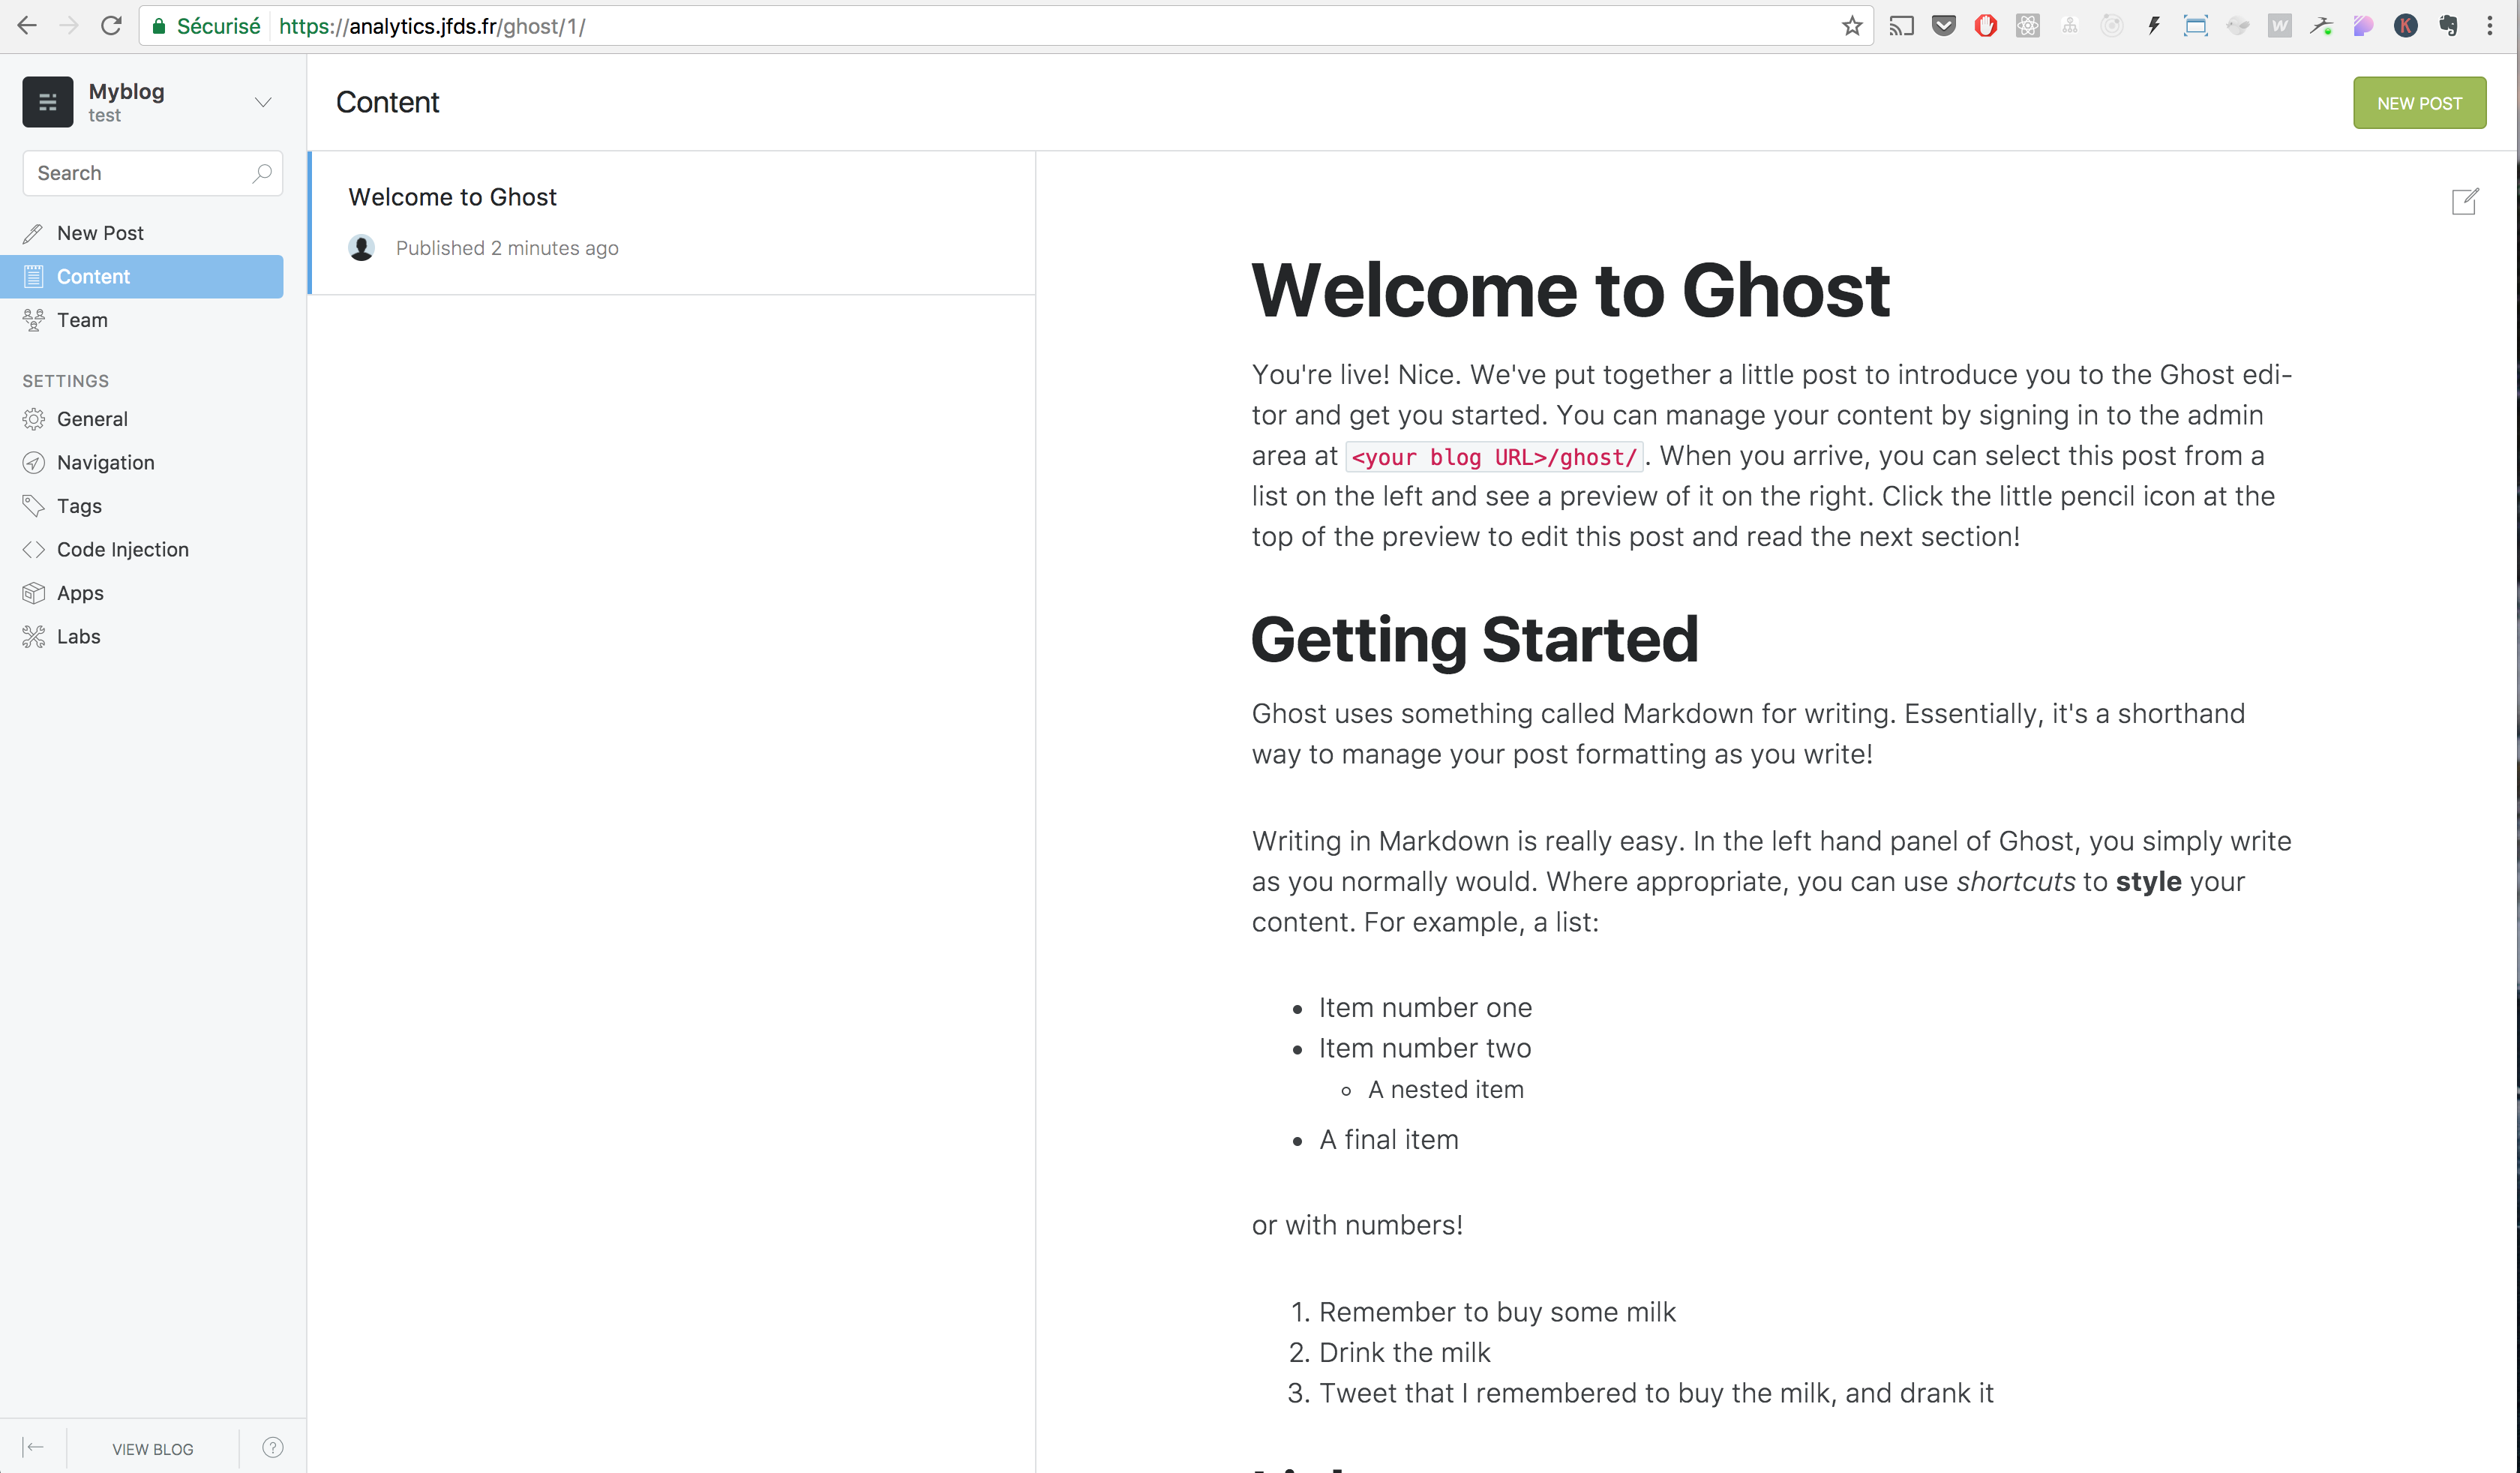
Ghost is a fully open-source platform for managing and publishing content. In particular, it supports roles and users so several people can collaborate, and it also supports scheduled publishing. You can find all of its features here.
In this article we will see how to set up a blog with HTTPS using Ghost and Docker.
To do that, we will use docker-compose, and our stack will be made up of the following elements:
- Ghost
- MariaDB
- NGINX
- Let's Encrypt
We will use the Bitnami images for Ghost and MariaDB. Then, for NGINX and Let's Encrypt, we will use nginx-proxy and docker-letsencrypt-nginx-proxy-companion, as we did in this article or this one.
Let's start by creating a docker-ghost folder and adding the docker-compose.yml file:
mkdir docker-ghost && cd docker-ghost
touch docker-compose.yml
Next, add the nginx-proxy and ssl-companion services:
version: '2'
services:
  nginx-proxy:
    image: jwilder/nginx-proxy
    container_name: nginx-proxy
    ports:
      - '80:80'
      - '443:443'
    volumes:
      - /var/run/docker.sock:/tmp/docker.sock:ro
      - /etc/nginx/vhost.d
      - /usr/share/nginx/html
      - /apps/web/ssl:/etc/nginx/certs:ro
  ssl-companion:
    image: jrcs/letsencrypt-nginx-proxy-companion
    container_name: ssl-companion
    volumes:
      - /apps/web/ssl:/etc/nginx/certs:rw
      - /var/run/docker.sock:/var/run/docker.sock:ro
    volumes_from:
      - nginx-proxy
    depends_on:
      - nginx-proxy
Then add the mariadb service:
mariadb:
  image: 'bitnami/mariadb:latest'
  environment:
    - MARIADB_ROOT_USER=YOUR_ROOT_USER
    - MARIADB_ROOT_PASSWORD=YOUR_PASSWORD
    - MARIADB_DATABASE=ghost
  volumes:
- ./ghost_data/db_data:/bitnami/mariadb- We define the image we want to use.
- We define the user, password, and database name.
- We create a volume so we can recover the data if we want to make a backup.
Finally, add the ghost service:
ghost:
  image: bitnami/ghost:latest
  depends_on:
    - mariadb
  ports:
    - 2368
  volumes:
    - ./ghost_data/content_data:/bitnami/ghost
  environment:
    - VIRTUAL_HOST=blog.example.com
    - LETSENCRYPT_HOST=blog.example.com
    - [email protected]
    - GHOST_HOST=blog.example.com
    - MARIADB_USER=YOUR_ROOT_USER
- MARIADB_PASSWORD=YOUR_PASSWORD- We define the image we want to use.
- We map port 2368 between the host machine and the container.
- We link the service to the
mariadbservice. - We define the volume for backups.
- We define the environment variables required by NGINX and Let's Encrypt by setting the domain through which we want to access the service. Then we define the domain for Ghost. Finally, we define the username and password for connecting to the database.
You can consult all Ghost environment variables on this page.
Here is the complete docker-compose.yml file:
version: '2'
services:
  nginx-proxy:
    image: jwilder/nginx-proxy
    container_name: nginx-proxy
    ports:
      - '80:80'
      - '443:443'
    volumes:
      - /var/run/docker.sock:/tmp/docker.sock:ro
      - /etc/nginx/vhost.d
      - /usr/share/nginx/html
      - /apps/web/ssl:/etc/nginx/certs:ro
  ssl-companion:
    image: jrcs/letsencrypt-nginx-proxy-companion
    container_name: ssl-companion
    volumes:
      - /apps/web/ssl:/etc/nginx/certs:rw
      - /var/run/docker.sock:/var/run/docker.sock:ro
    volumes_from:
      - nginx-proxy
    depends_on:
      - nginx-proxy
  mariadb:
    image: 'bitnami/mariadb:latest'
    environment:
      - MARIADB_ROOT_USER=YOUR_ROOT_USER
      - MARIADB_ROOT_PASSWORD=YOUR_PASSWORD
      - MARIADB_DATABASE=ghost
    volumes:
      - ./ghost_data/db_data:/bitnami/mariadb
  ghost:
    image: bitnami/ghost:latest
    depends_on:
      - mariadb
    ports:
      - 2368
    volumes:
      - ./ghost_data/content_data:/bitnami/ghost
    environment:
      - VIRTUAL_HOST=blog.example.com
      - LETSENCRYPT_HOST=blog.example.com
      - [email protected]
      - GHOST_HOST=blog.example.com
      - MARIADB_USER=YOUR_ROOT_USER
      - MARIADB_PASSWORD=YOUR_PASSWORD
Copy the docker-compose.yml file directly to your server, replace the environment variables, and start the services:
docker-compose up -dThen go to the domain you entered in the docker-compose.yml file. You should see this page appear:
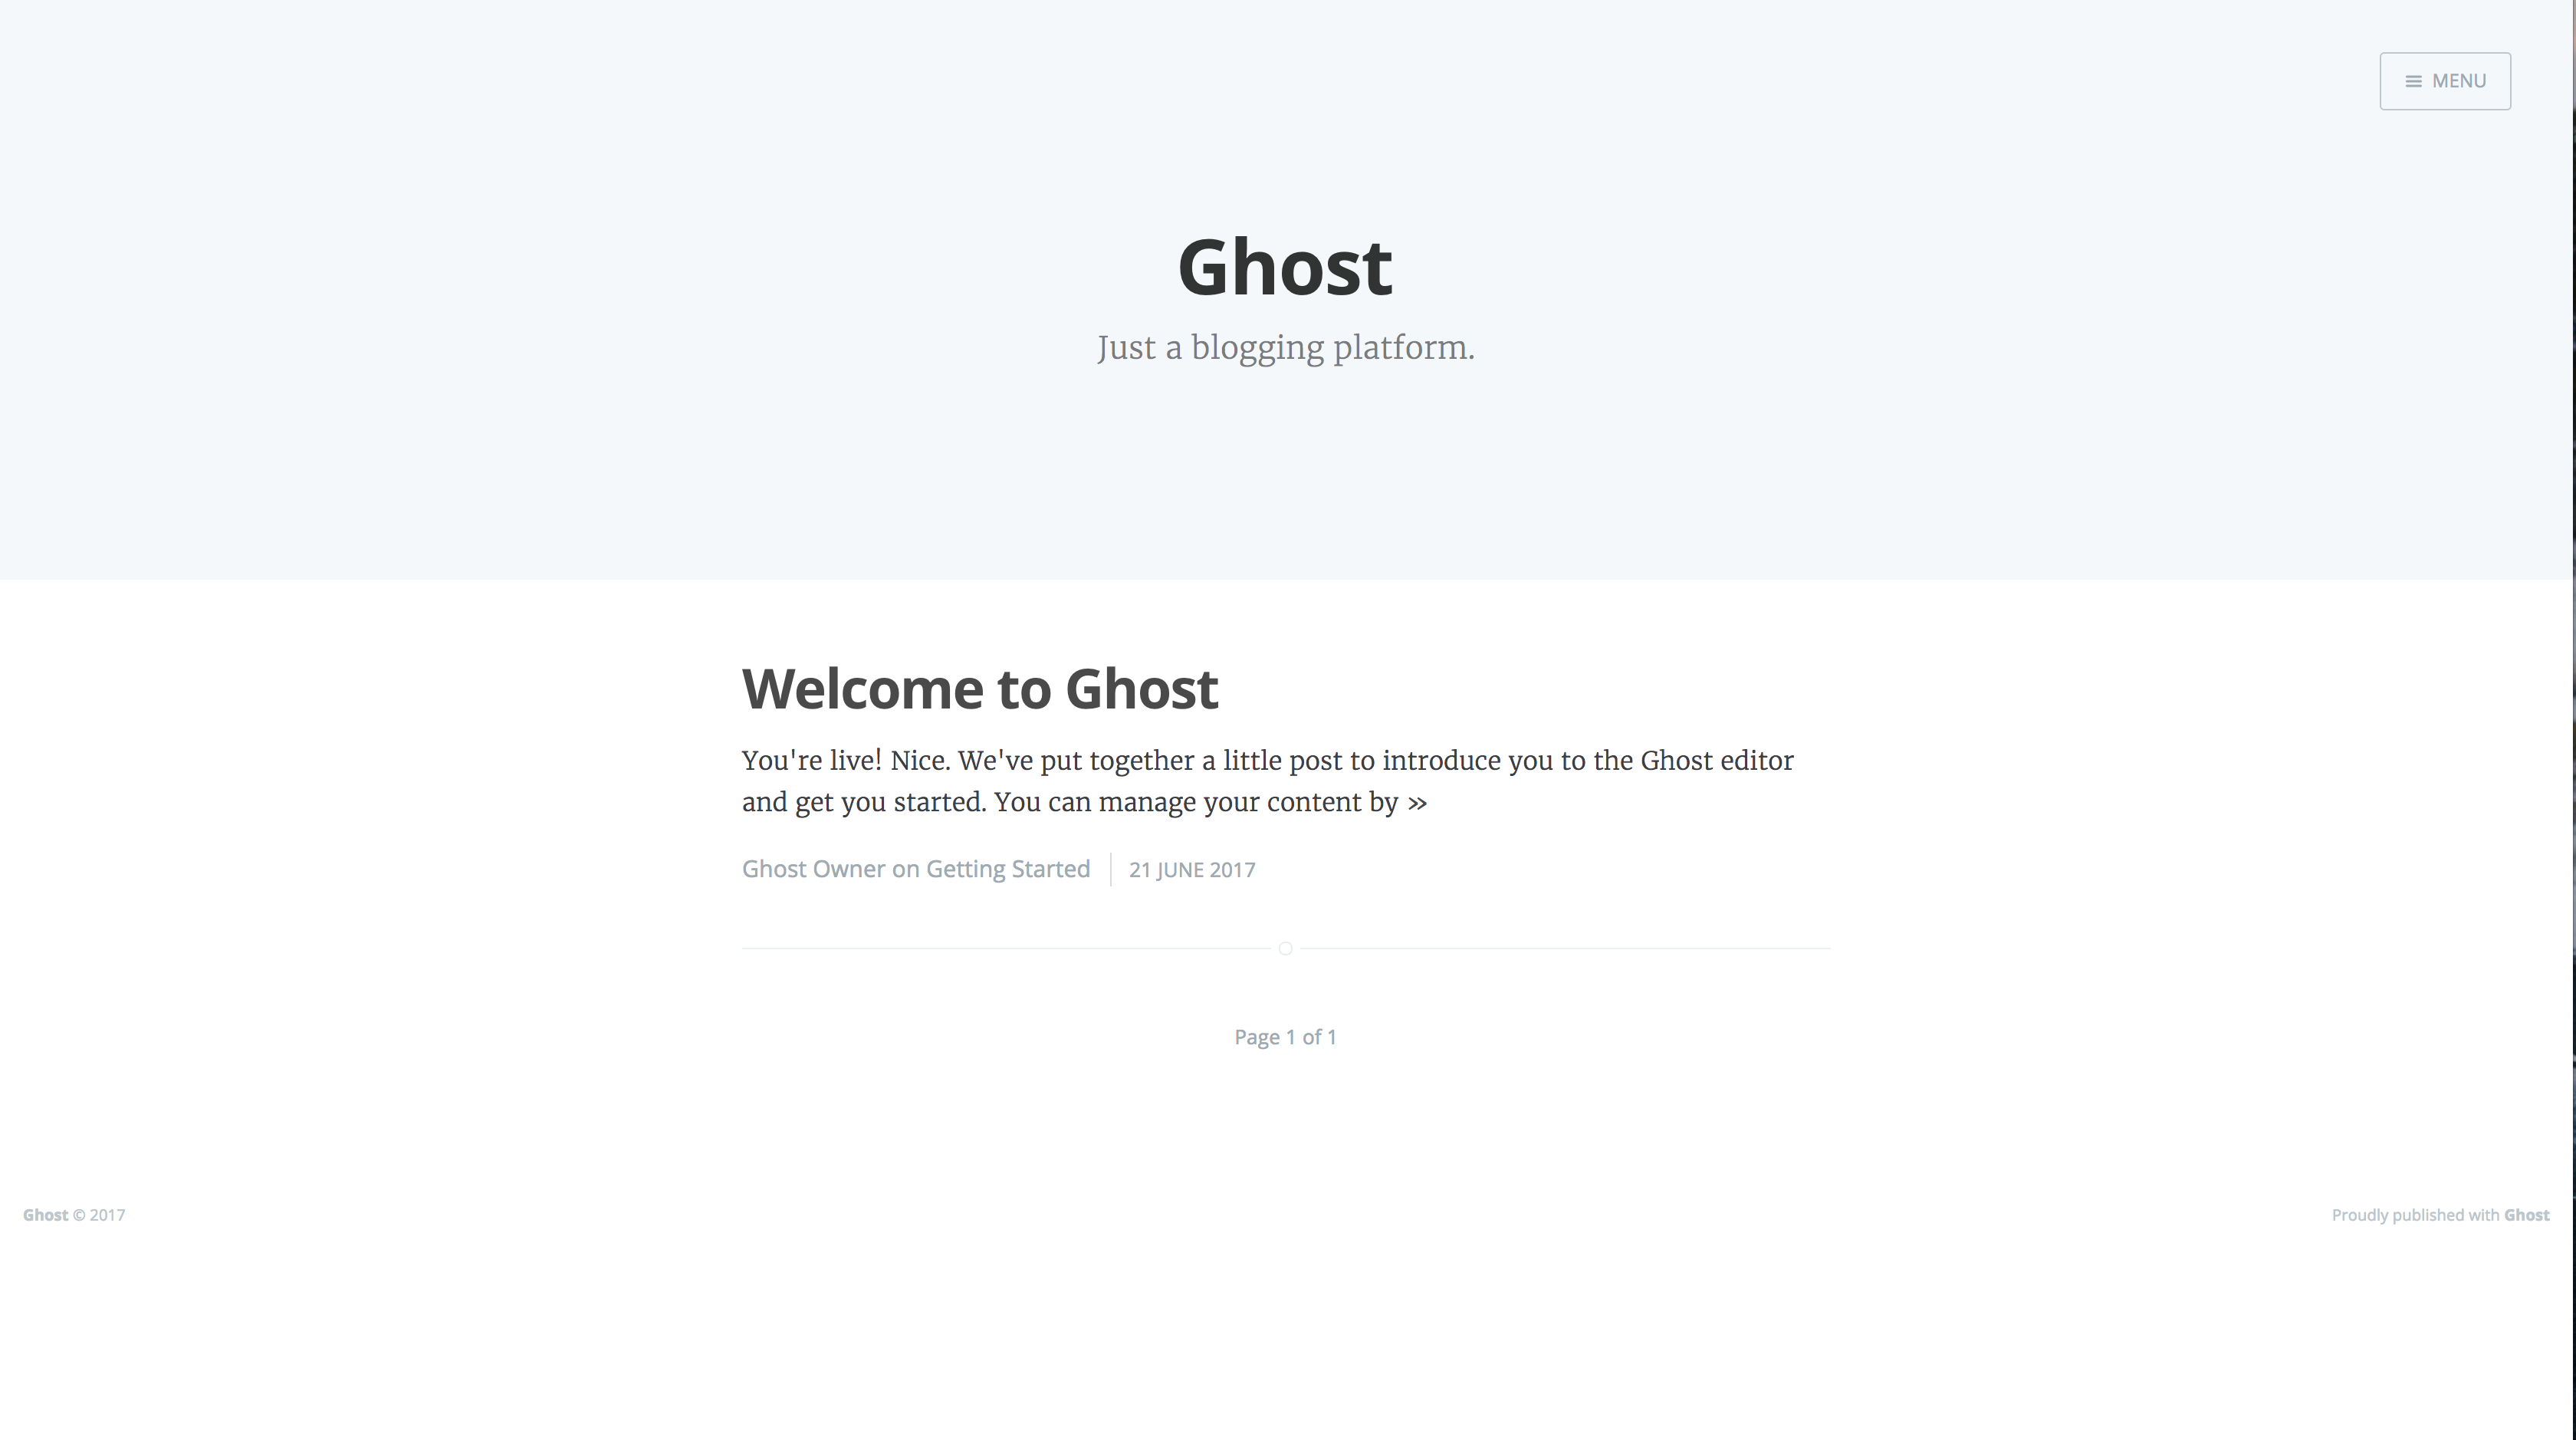
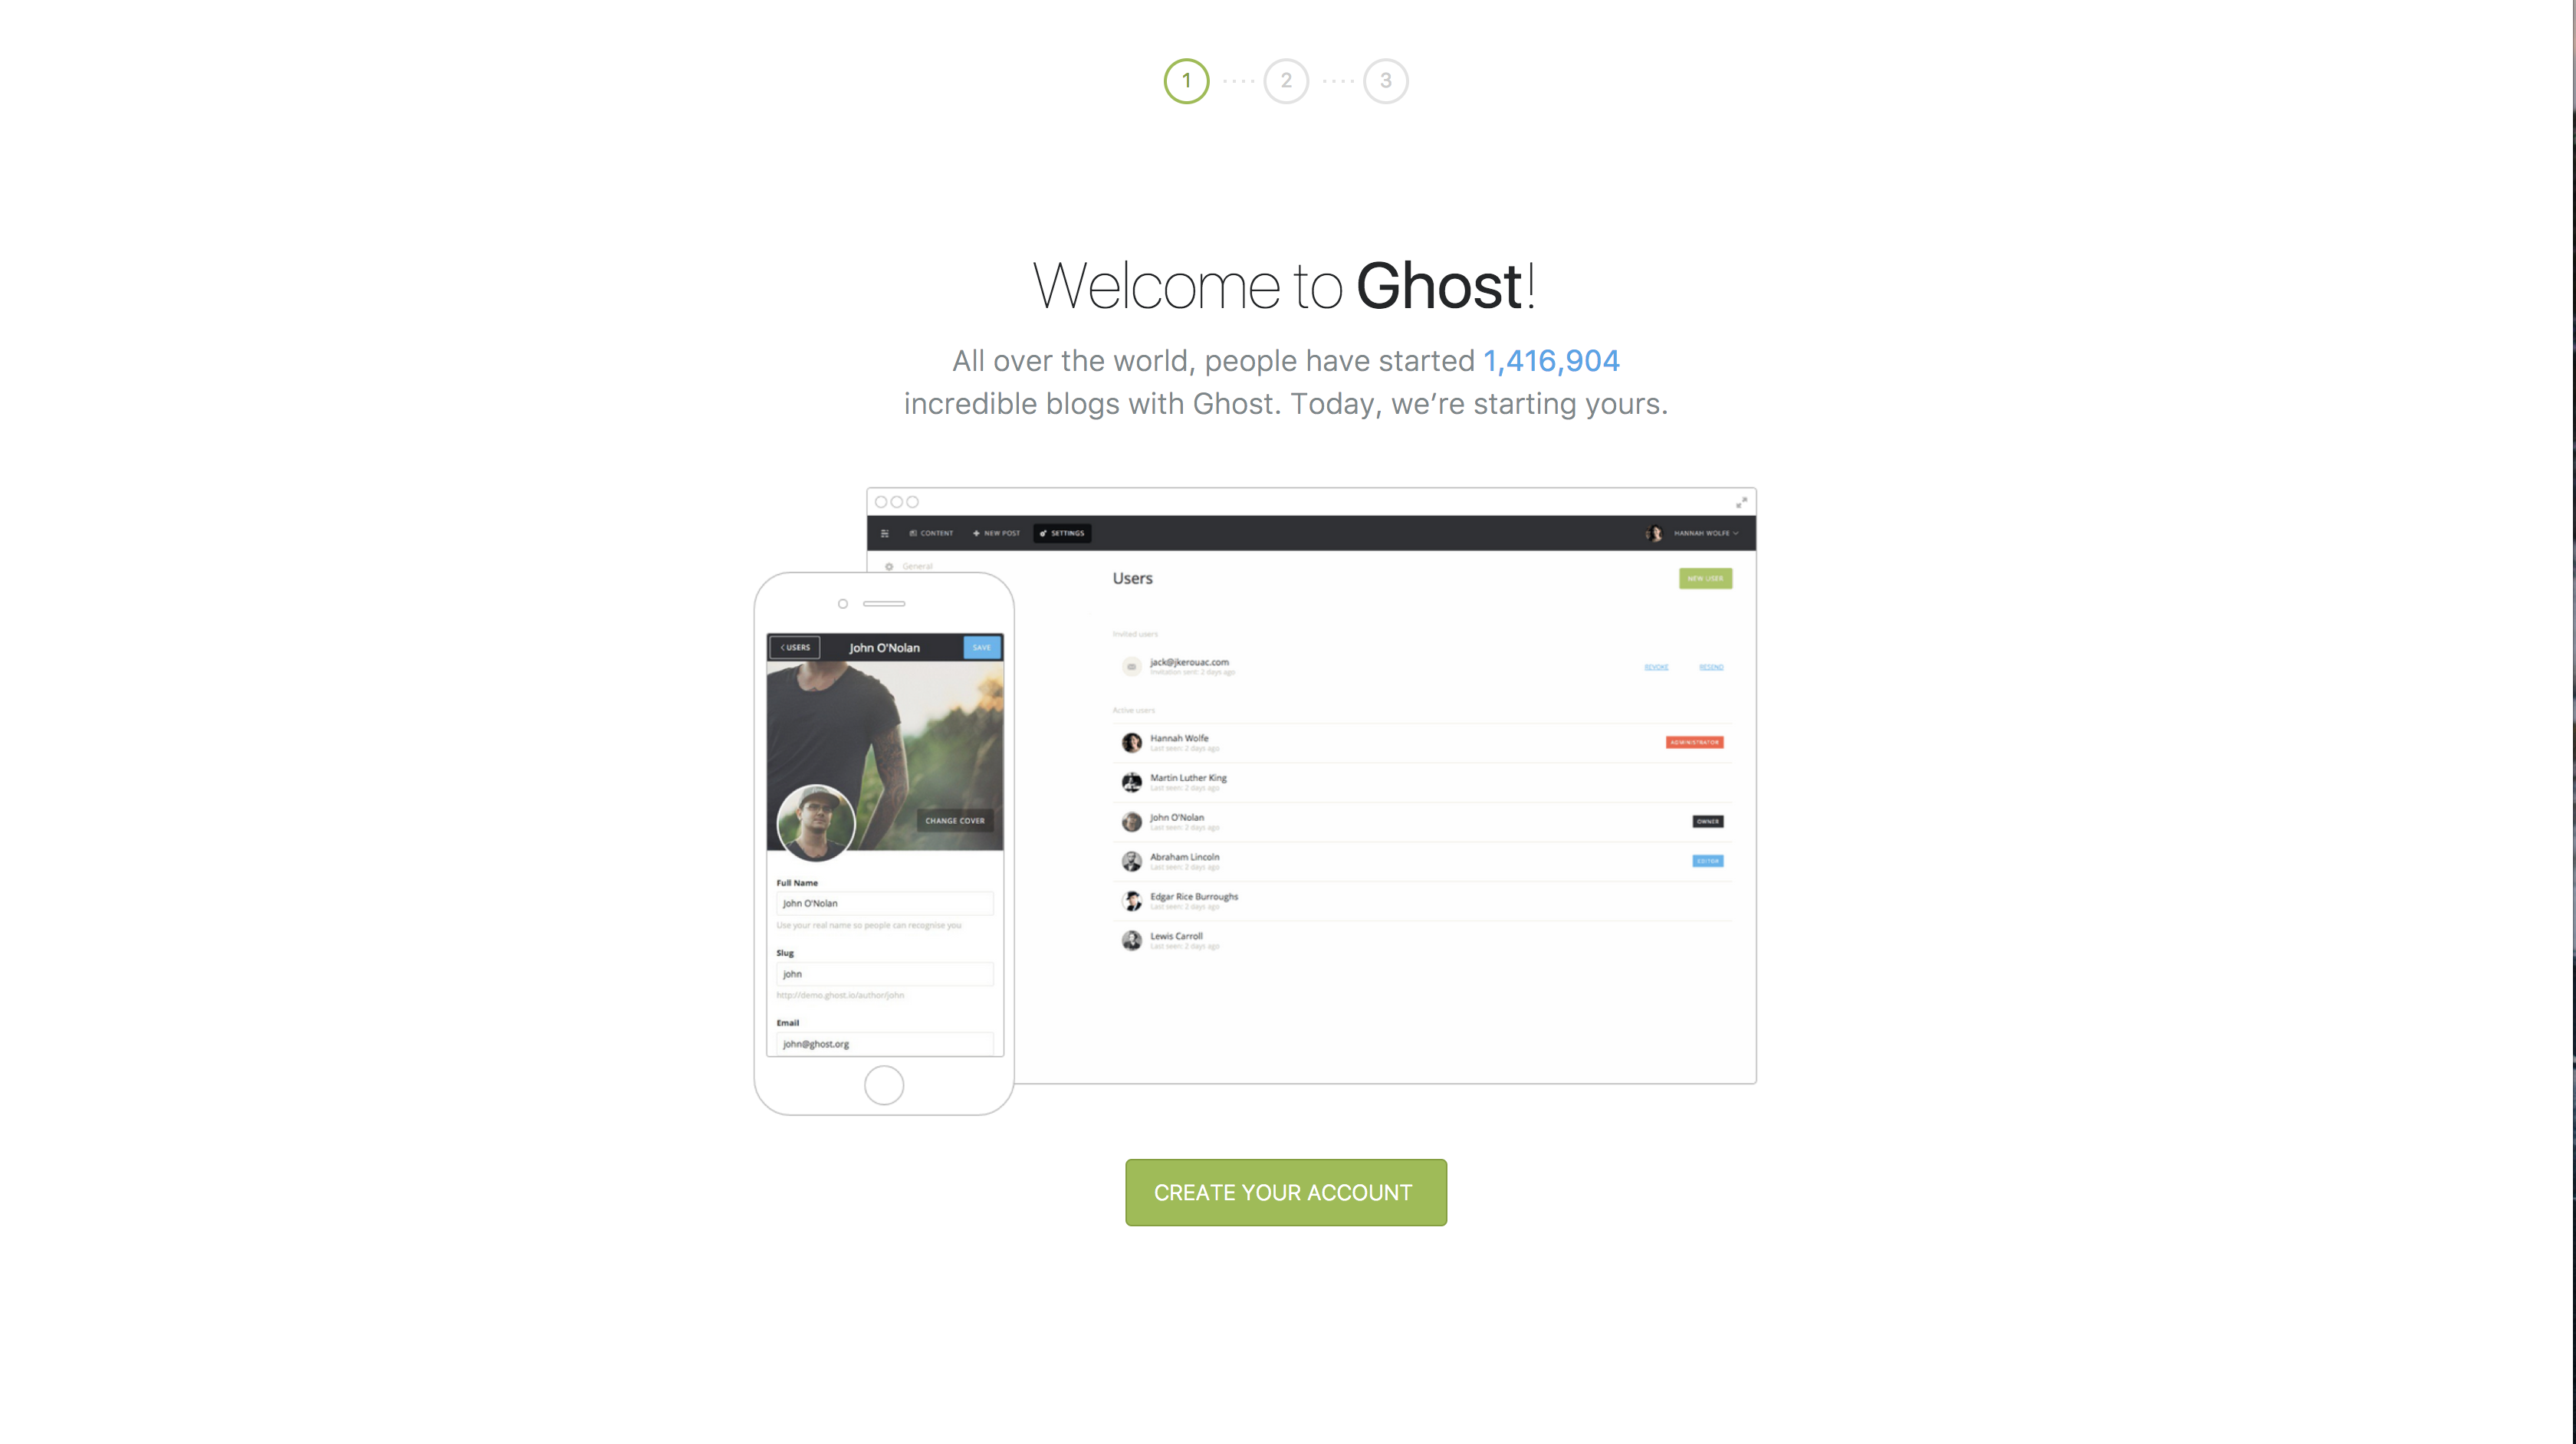
Next, go to your-domain/ghost. Now you will need to follow the instructions to configure your blog.
Create a new account:
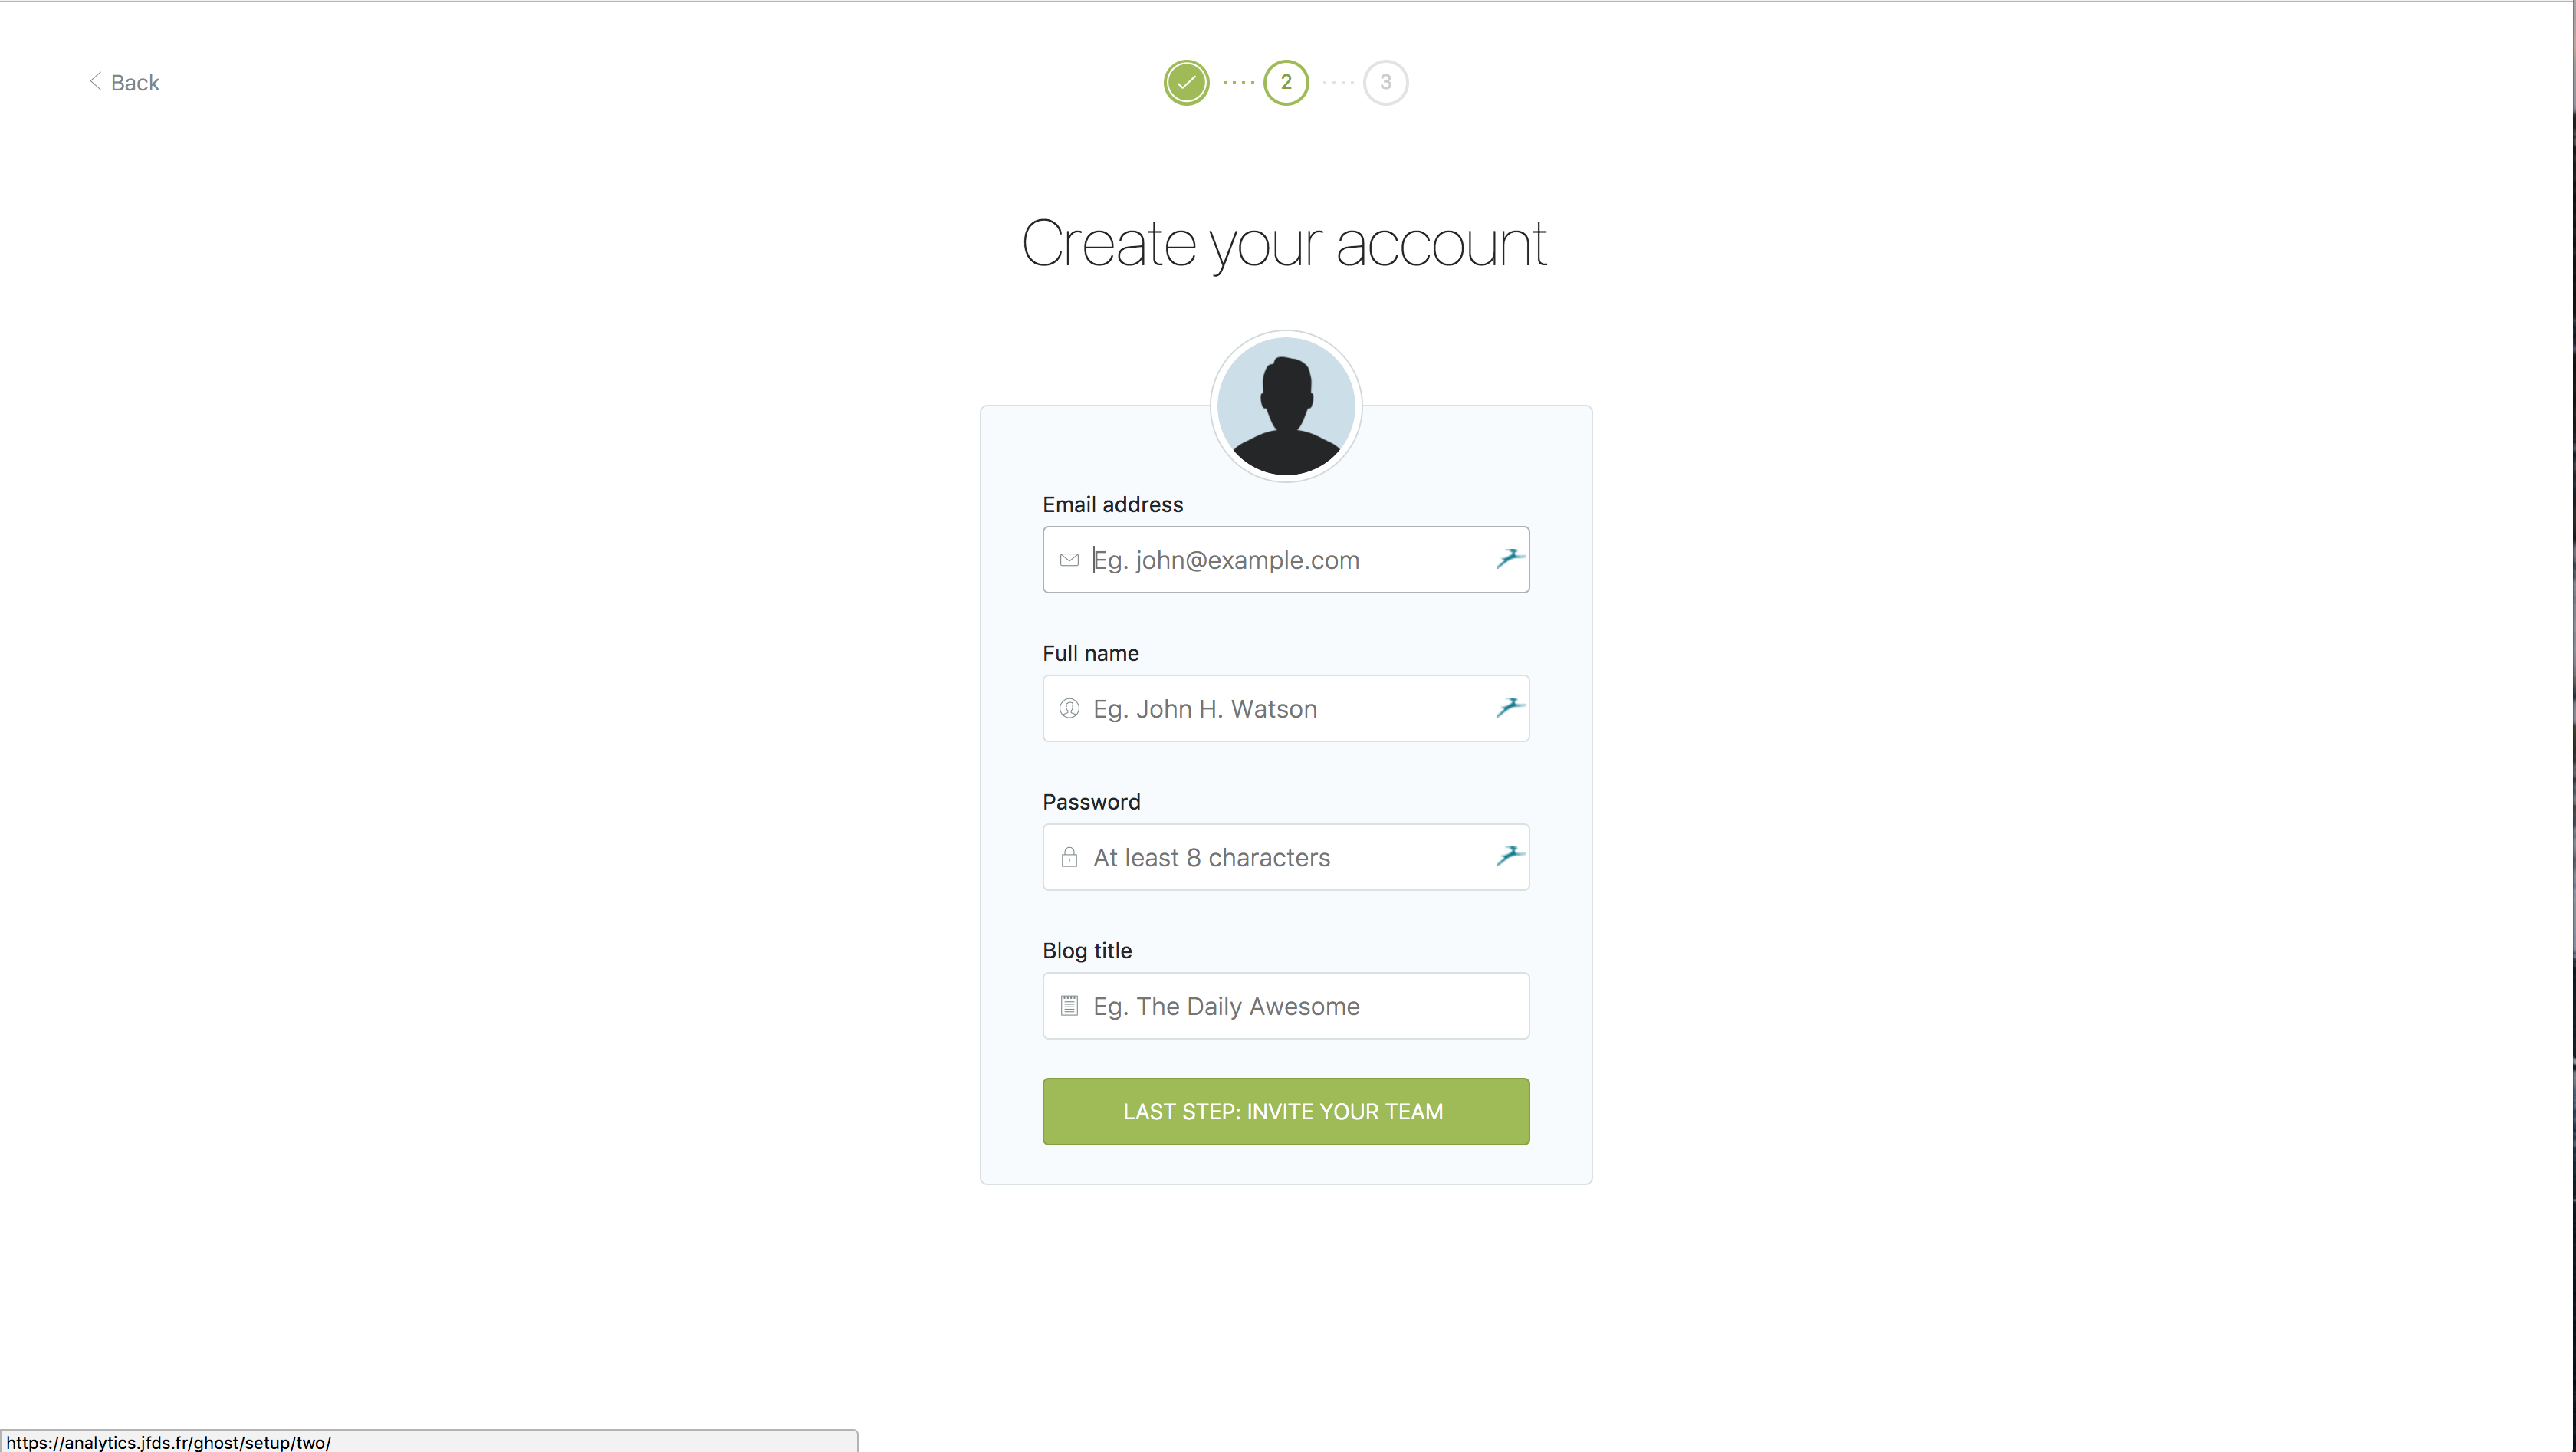
Enter your user information and the name of your blog:
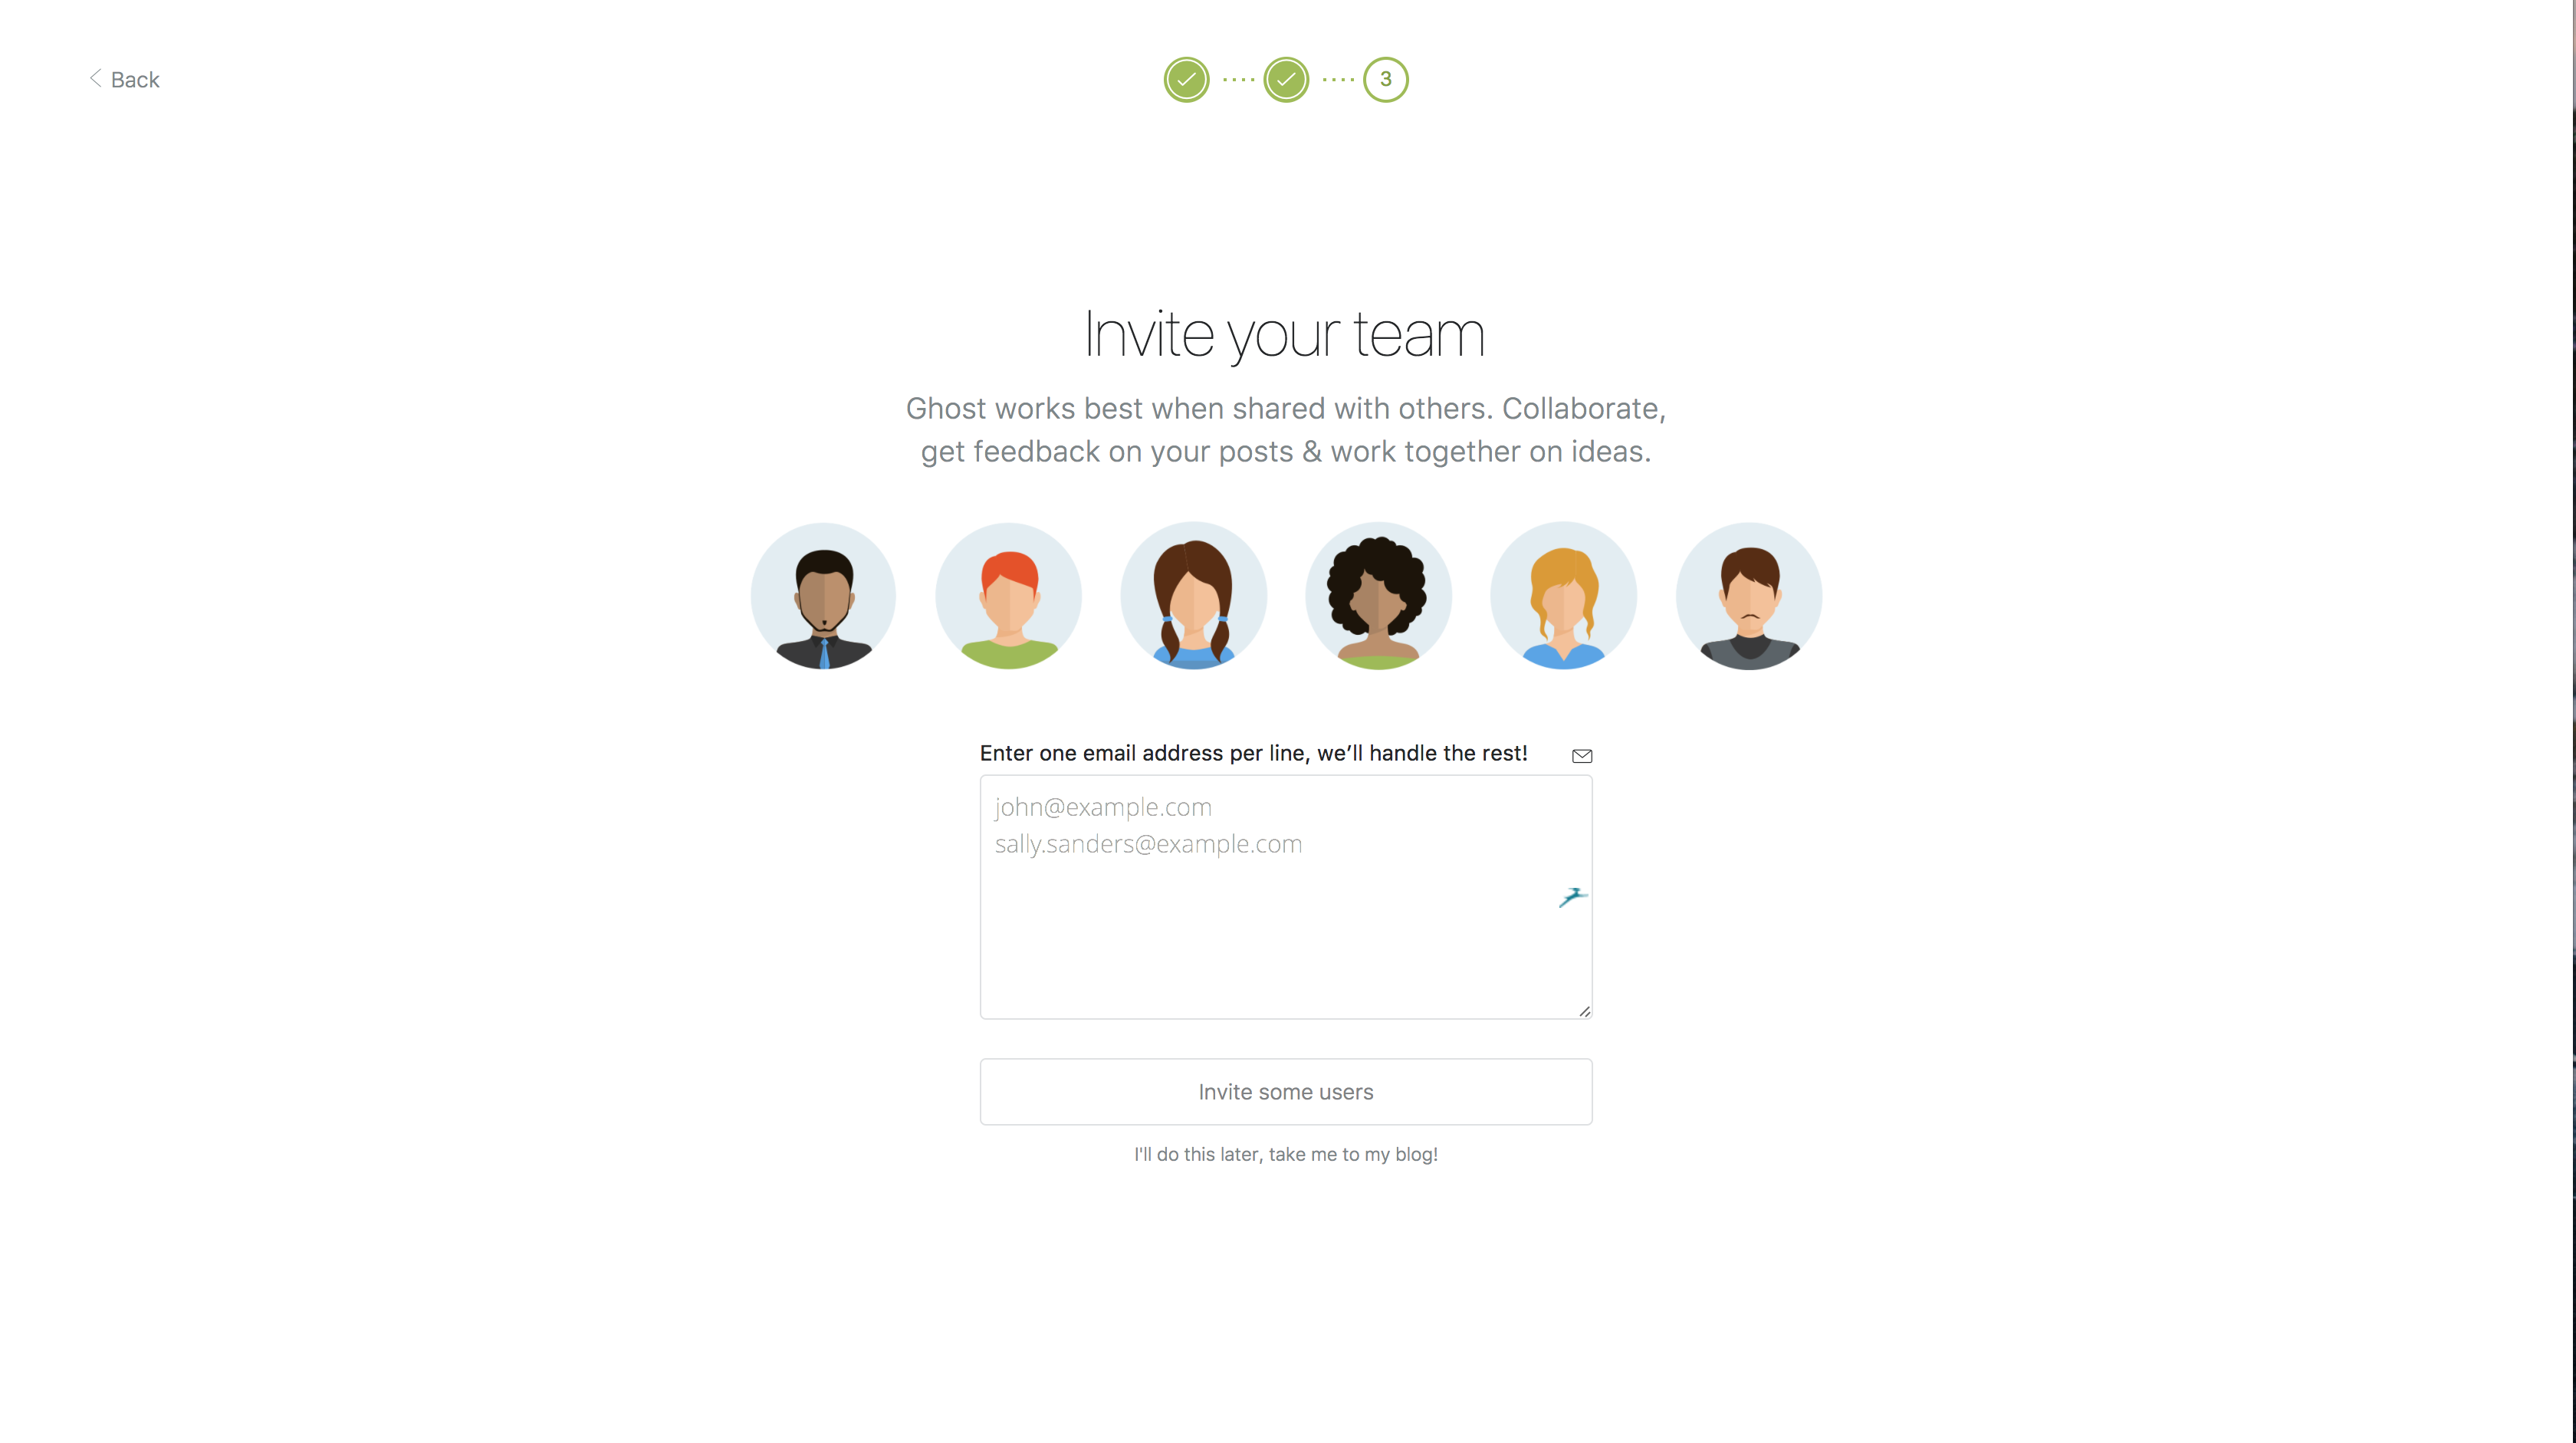
Invite other people to collaborate with you. This step is optional.
And that's it: your Ghost blog is now configured and ready to use.