This article is the last in the series whose goal is to create a Docker-based web application. In this article, we will deploy our application on DigitalOcean.
As indicated in the first article in the series, our application will be accessible through the example.com domain and over HTTPS. To do this, we will need to add an NGINX reverse proxy to our current configuration and generate Let's Encrypt certificates.
For this article, you will need a domain from the provider of your choice as well as a DigitalOcean account. If you do not have a DigitalOcean account, you can sign up at DigitalOcean.
Information recap:
- Domain used: example.com
- Provider: OVH
- Parse Server domain: api.example.com
- Parse Dashboard domain: dashboard.example.com
- Next application domain: example.com
Creating the DigitalOcean droplet
To begin, we will create our droplet on DigitalOcean.
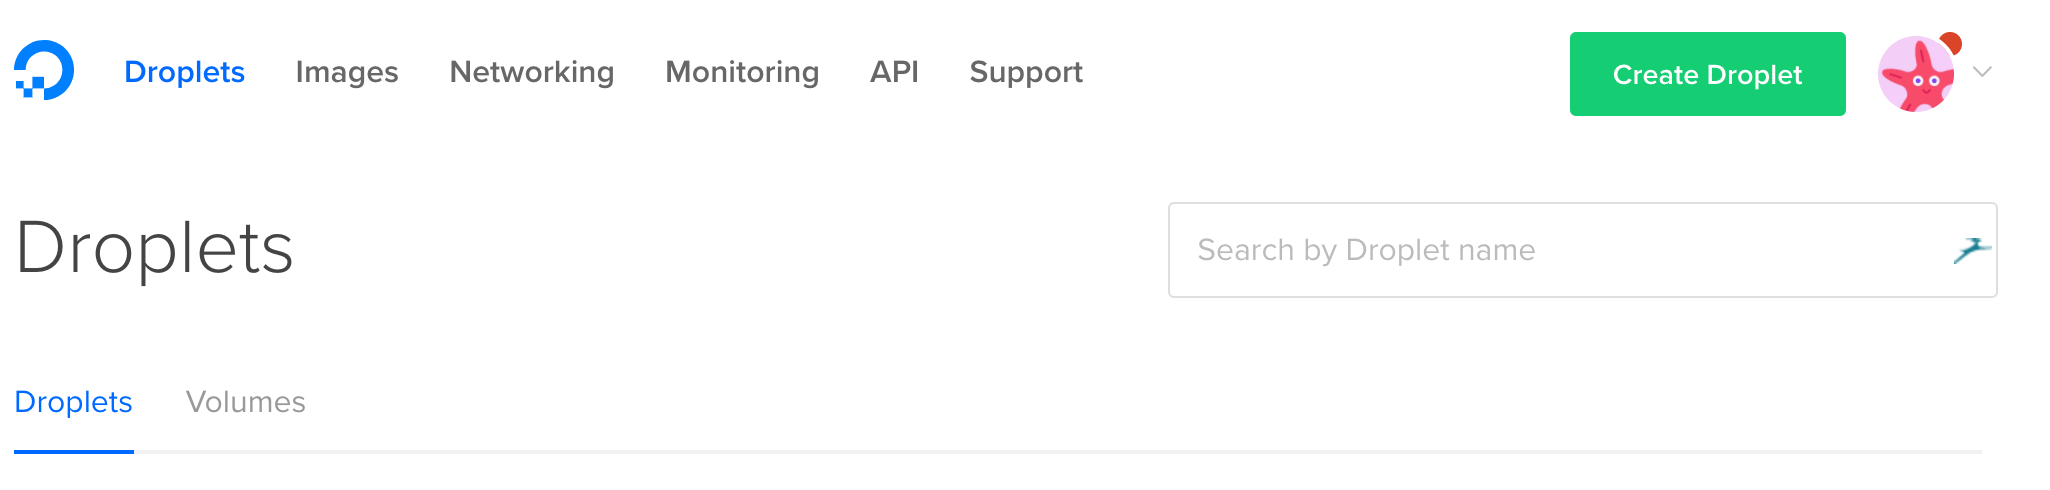
Log in to the site and click "Create Droplet".
Next, select "One-click apps", then "Docker 17.05.0-ce on 16.04".
For the size, preferably choose the second offer.
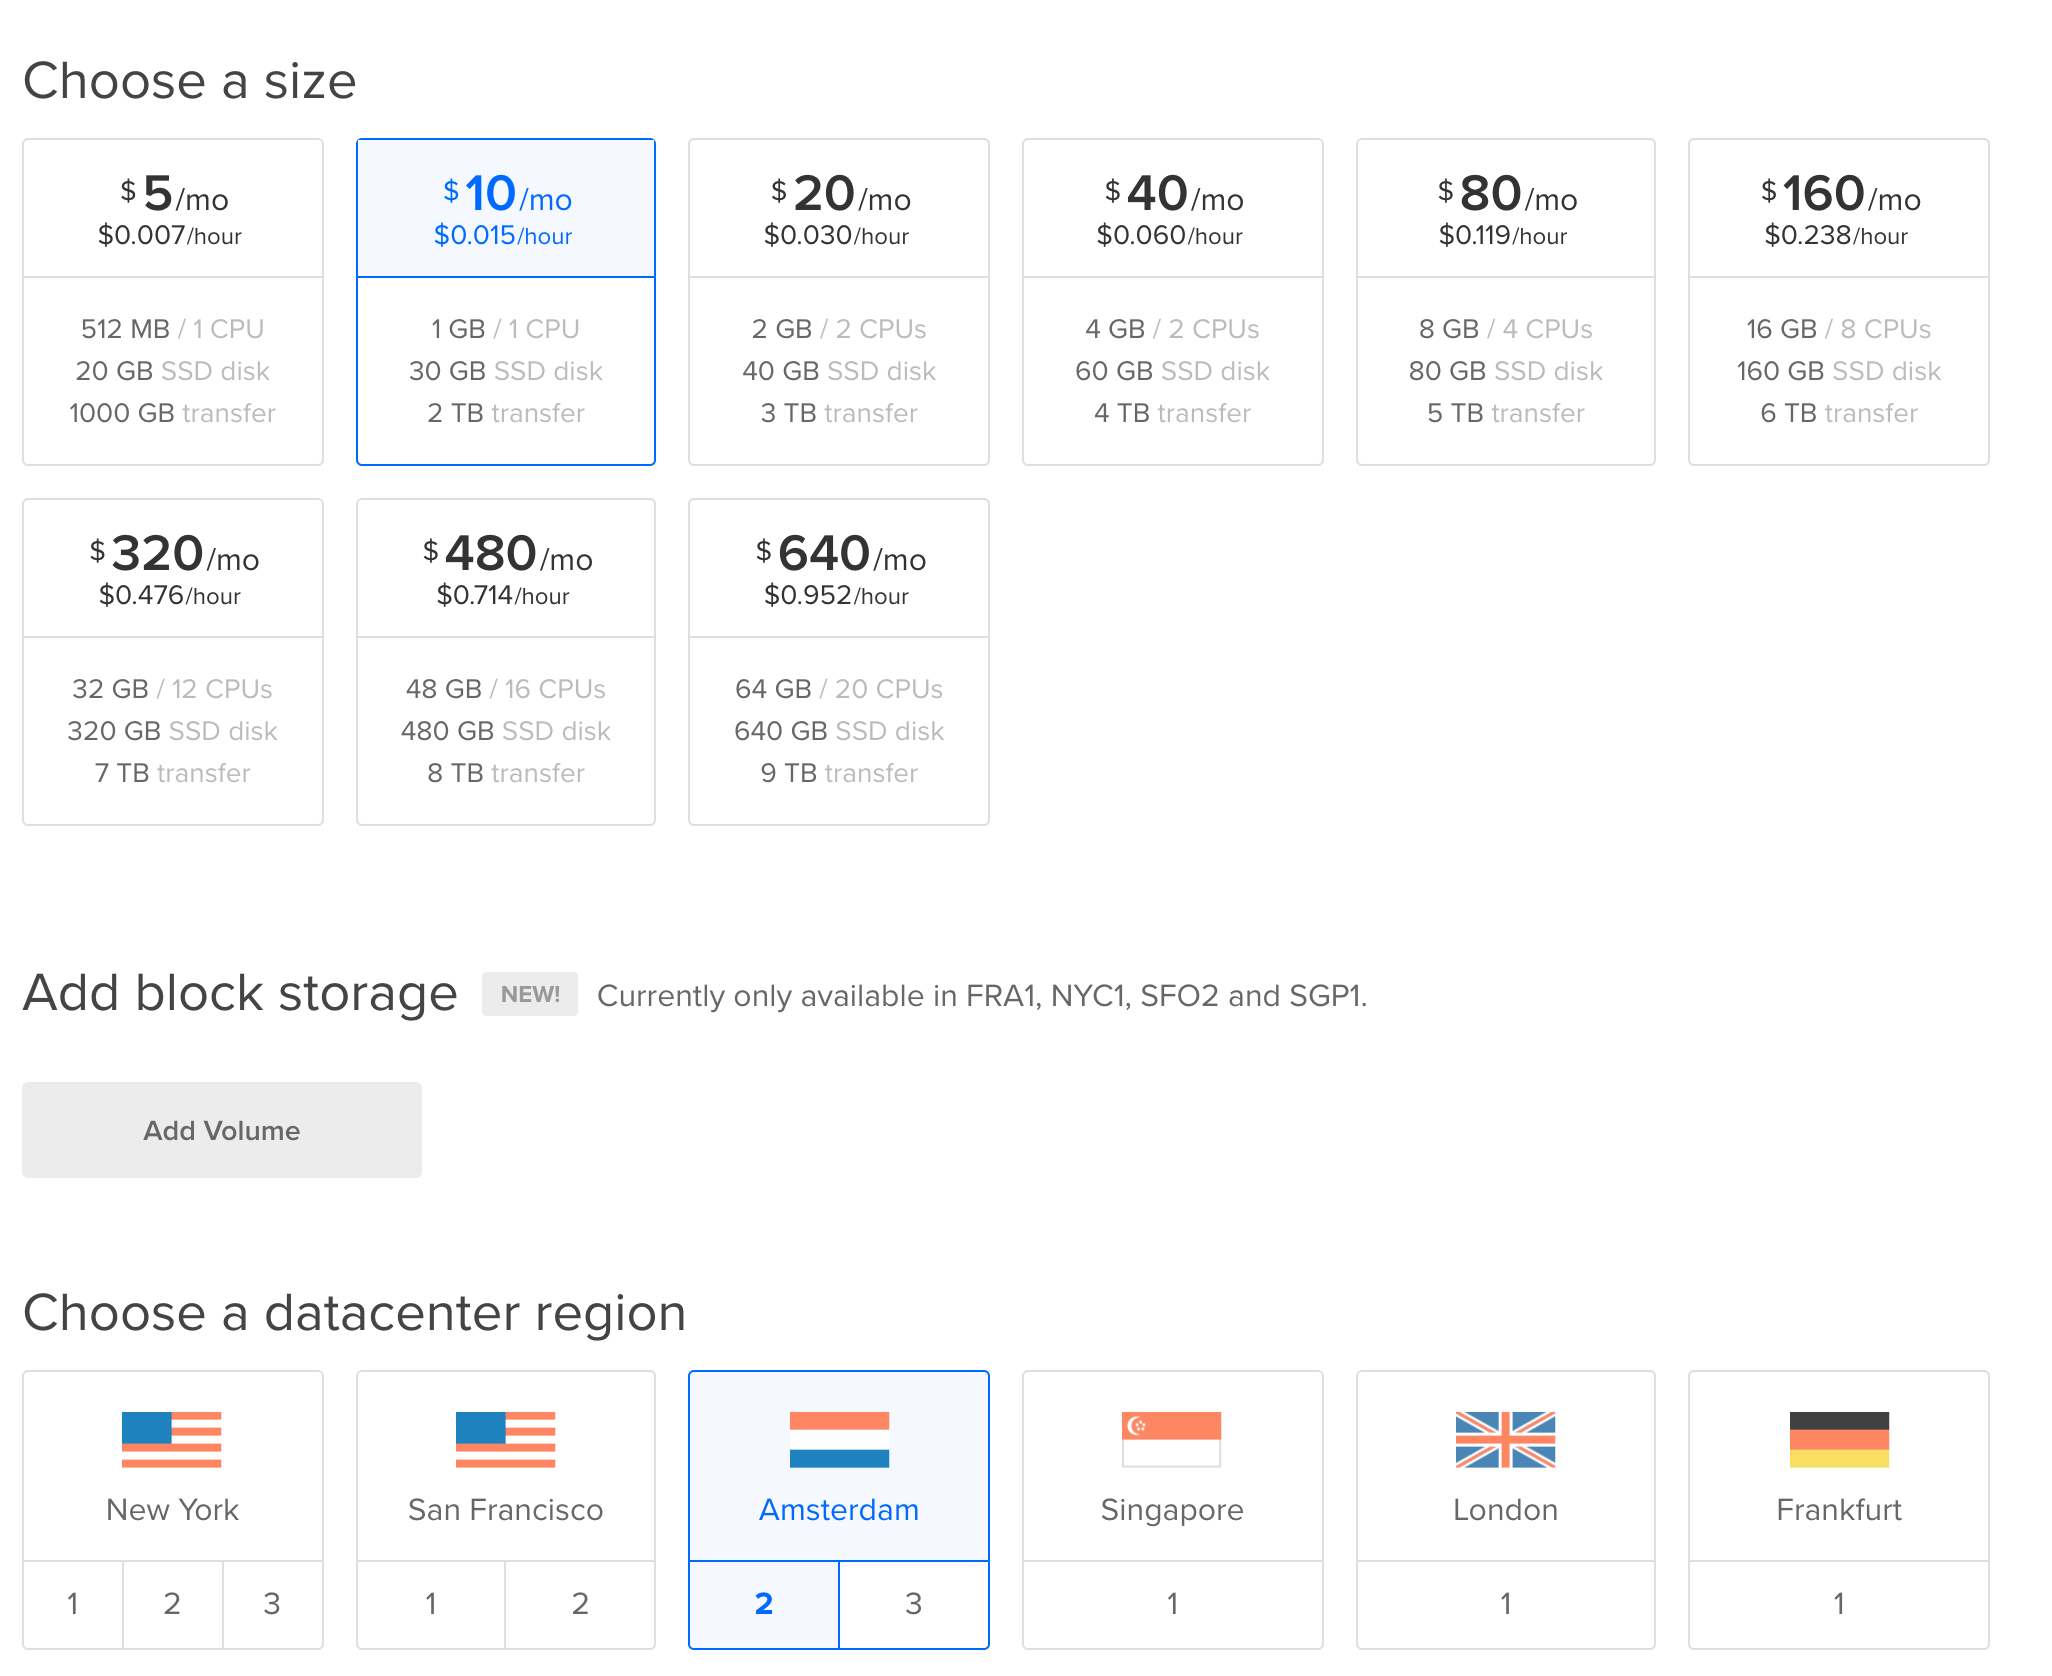
To finish, name the droplet however you want, then click "Create". A few seconds later, your droplet will be created.
Enabling a floating IP
Once your droplet has been created, enable the floating IP option. Select your droplet from the list and click "Floating IP: Enable now".

Then select your droplet and click "Assign Floating IP".
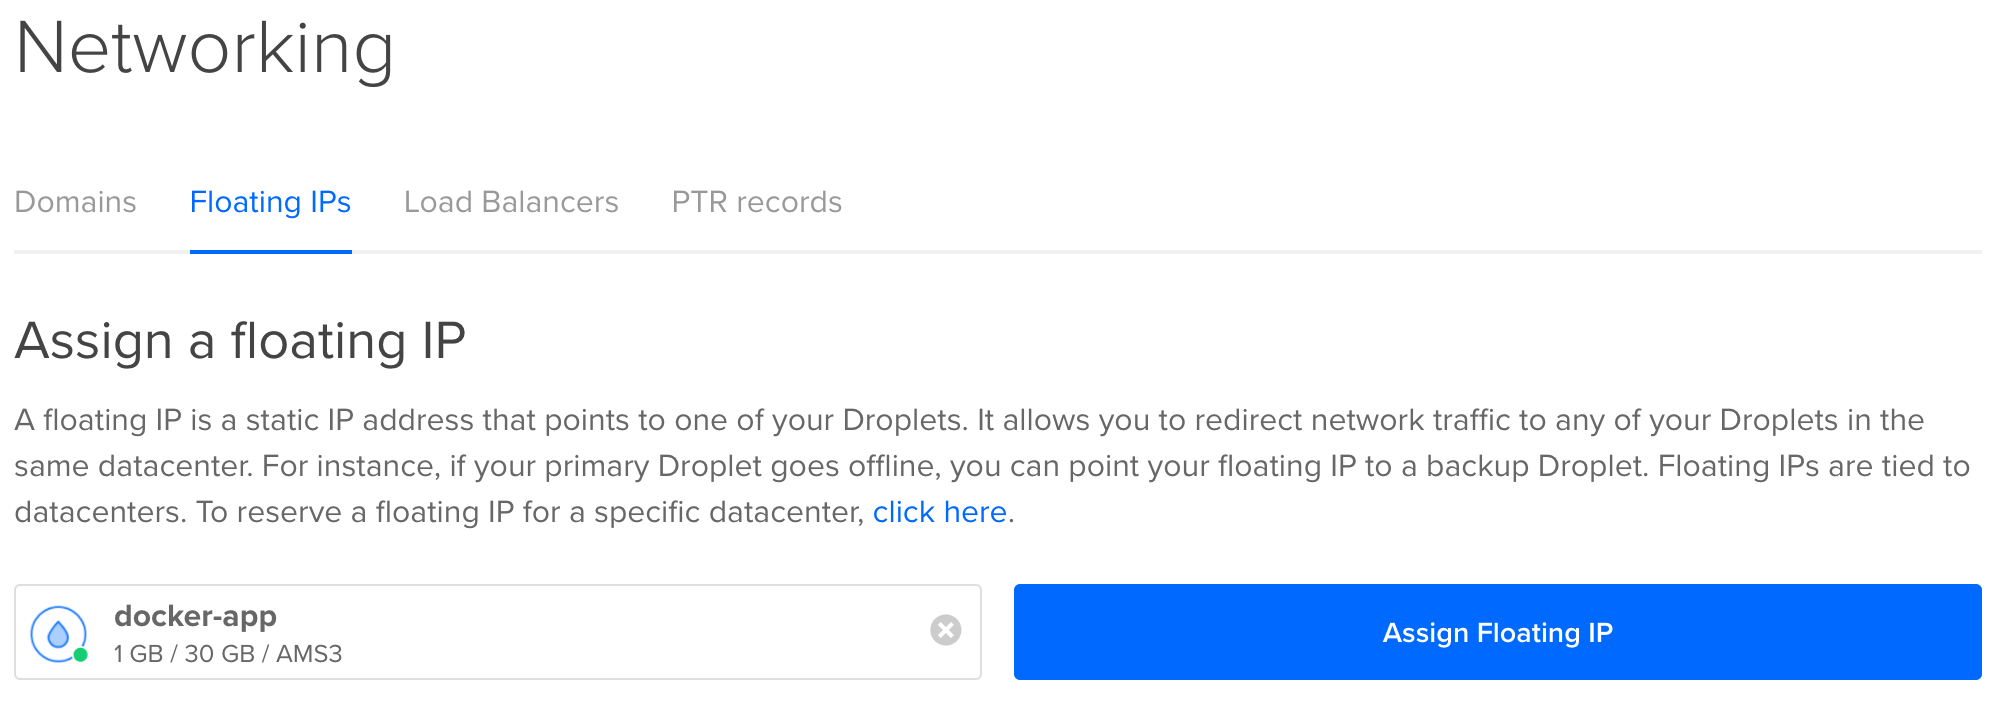
When a droplet is created, it is accessible through its own IP address. The floating IP address lets you have an IP address that will not change, regardless of the droplet's IP address.
This lets us configure our DNS to point to the floating IP address rather than the droplet IP address. Thanks to this, if we want to delete the droplet and recreate a new one, we only need to reassign the floating IP address to it and the DNS configuration will still be valid even if the droplet IP address has changed.
DNS configuration
Now that we have created our droplet, we will configure the domain DNS. The following steps will be performed on OVH, but the principle is the same for other providers, and you will need to replace the domain and subdomain values with your own.
Go to your domain's DNS Zone tab and click "Add an entry".

In the "Pointing option" field, select A.
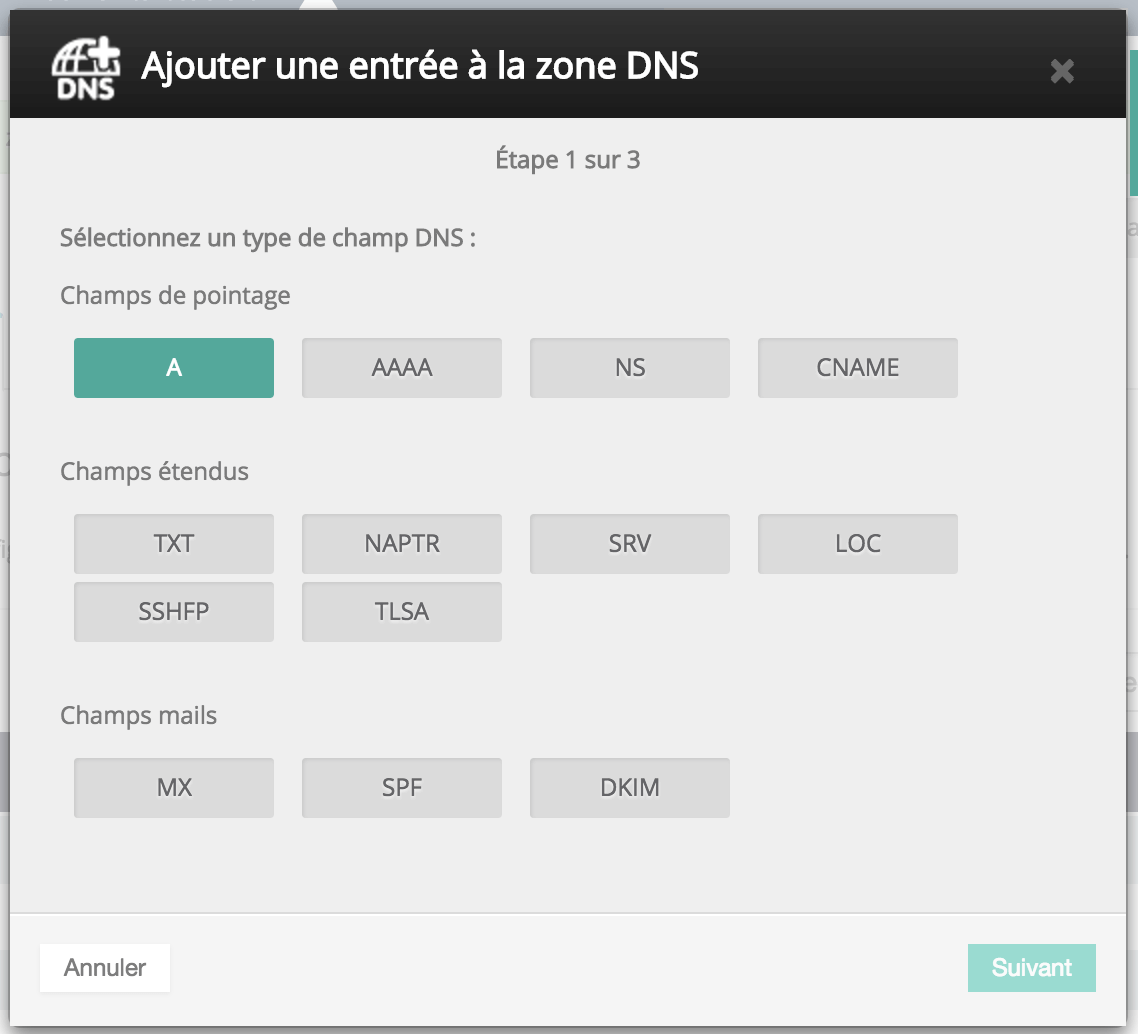
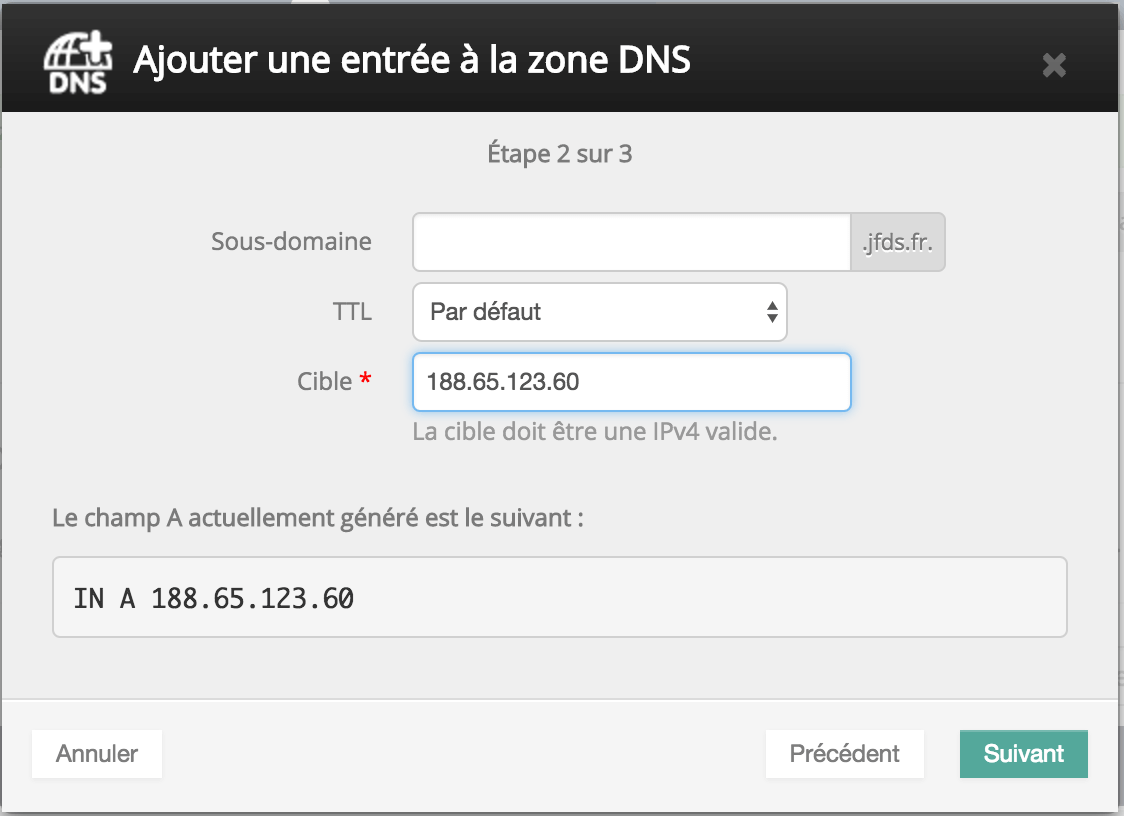
The first zone we will add is the one for example.com.
Because we do not want a subdomain for this one, we leave the Subdomain field empty, the TTL field keeps its default value, and finally, in the target field, we enter the DigitalOcean floating IP address.
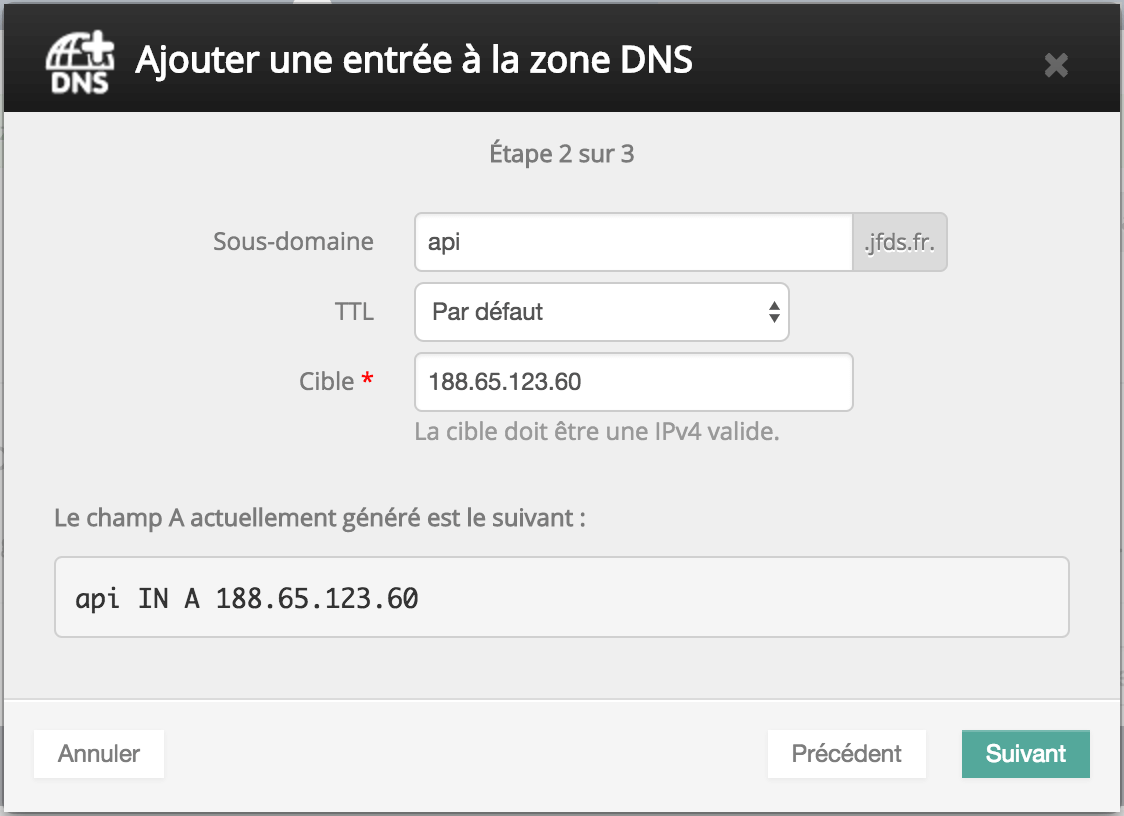
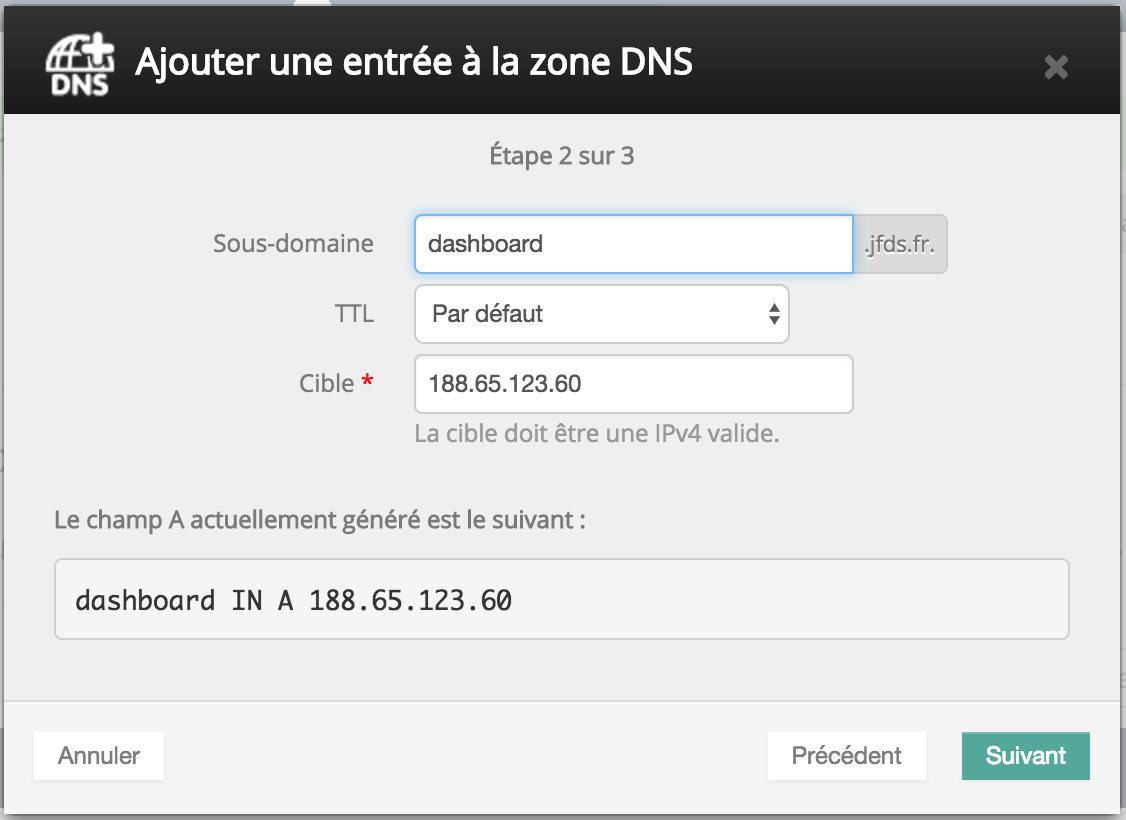
We repeat the operation for api.example.com and dashboard.example.com.
NGINX & Let's Encrypt
Let's move on to adding NGINX and Let's Encrypt. For NGINX, we will use nginx-proxy. This image uses Docker events and the inspection API to automatically generate reverse-proxy configurations for NGINX every time a container starts. Finally, for Let's Encrypt, we will use docker-letsencrypt-nginx-proxy-companion. This allows the container to connect directly to the NGINX container and add certificates for the generated sites.
We will add these two services to our current Docker configuration in the docker-compose.yml file. After the existing services, add the following code:
nginx-proxy:
  image: jwilder/nginx-proxy
  container_name: nginx-proxy
  ports:
    - '80:80'
    - '443:443'
  volumes:
    - /var/run/docker.sock:/tmp/docker.sock:ro
    - /etc/nginx/vhost.d
    - /usr/share/nginx/html
    - /apps/web/ssl:/etc/nginx/certs:ro
ssl-companion:
  image: jrcs/letsencrypt-nginx-proxy-companion
  container_name: ssl-companion
  volumes:
    - /apps/web/ssl:/etc/nginx/certs:rw
    - /var/run/docker.sock:/var/run/docker.sock:ro
  volumes_from:
    - nginx-proxy
  depends_on:
    - nginx-proxy
Next, you need to add the following three environment variables for each service in order to configure nginx-proxy and ssl-companion correctly.
- VIRTUAL_HOST
- LETSENCRYPT_HOST
- LETSENCRYPT_EMAIL
API service:
VIRTUAL_HOST: 'api.example.com'
LETSENCRYPT_HOST: 'api.example.com'
LETSENCRYPT_EMAIL: '[email protected]'
Dashboard service:
VIRTUAL_HOST: 'dashboard.example.com'
LETSENCRYPT_HOST: 'dashboard.example.com'
LETSENCRYPT_EMAIL: '[email protected]'
web-app service:
VIRTUAL_HOST: 'example.com'
LETSENCRYPT_HOST: 'example.com'
LETSENCRYPT_EMAIL: '[email protected]'
Once deployed on your droplet, the services will be directly accessible through their domains. You also need to modify the Parse environment variables as well as the Next.js application's config.js file.
config.js
export const PARSE_APP_ID = 'web-app-docker';
export const PARSE_SERVER_URL = 'https://api.example.com/parse';
docker-compose.yml
version: '2'
services:
    mongo:
        image: mongo:3
        container_name: "mongo-db"
        volumes:
            - ./mongo/data:/db/data
        ports:
            - "27017:27017"
    api:
        build: ./parse-server
        container_name: "parse-server"
        ports:
            - "1337:1337"
        environment:
          PORT: 1337
          DATABASE_URI: mongodb://mongo:27017
          APP_ID: "web-app-docker"
          MASTER_KEY: "master"
          PARSE_MOUNT: "/parse"
          SERVER_URL: "https://api.example.com/parse"
          VIRTUAL_HOST: "api.example.com"
          LETSENCRYPT_HOST: "api.example.com"
          LETSENCRYPT_EMAIL: "[email protected]"
        volumes:
            - ./parse-server/cloud:/parse/cloud
            - ./parse-server/public:/parse/public
        depends_on:
            - mongo
    dashboard:
        build: ./dashboard
        container_name: "parse-dashboard"
        environment:
            PORT: 4040
            PARSE_DASHBOARD_ALLOW_INSECURE_HTTP: "True"
            PARSE_DASHBOARD_SERVER_URL: "https://api.example.com/parse"
            PARSE_DASHBOARD_MASTER_KEY: "master"
            PARSE_DASHBOARD_APP_ID: "web-app-docker"
            PARSE_DASHBOARD_APP_NAME: "Docker Web App"
            PARSE_DASHBOARD_USER_ID: "user"
            PARSE_DASHBOARD_USER_PASSWORD: "password"
            VIRTUAL_HOST: "dashboard.example.com"
            LETSENCRYPT_HOST: "dashboard.example.com"
            LETSENCRYPT_EMAIL: "[email protected]"
        ports:
            - "4040:4040"
    web-app:
        build: ./web-app
        container_name: "web-app"
        ports:
            - "3000:3000"
        environment:
            VIRTUAL_HOST: "example.com"
            LETSENCRYPT_HOST: "example.com"
            LETSENCRYPT_EMAIL: "[email protected]"
    nginx-proxy:
        image: jwilder/nginx-proxy
        container_name: nginx-proxy
        ports:
          - '80:80'
          - '443:443'
          volumes:
          - /var/run/docker.sock:/tmp/docker.sock:ro
          - /etc/nginx/vhost.d
          - /usr/share/nginx/html
          - /apps/web/ssl:/etc/nginx/certs:ro
    ssl-companion:
        image: jrcs/letsencrypt-nginx-proxy-companion
        container_name: ssl-companion
        volumes:
          - /apps/web/ssl:/etc/nginx/certs:rw
          - /var/run/docker.sock:/var/run/docker.sock:ro
        volumes_from:
          - nginx-proxy
        depends_on:
          - nginx-proxy
Next, all you have left to do is connect to your droplet with SSH, retrieve the source code, and run docker-compose up. You can clone your own project repository directly and replace the variables.