When it comes to measuring website traffic, we all know the leaders that offer analytics tools, such as Google, Mixpanel, and others. But there are also other alternatives, such as Piwik.
For those who do not know Piwik, it is an open-source analytics tool that you can install directly on your server, which gives you full access to your data.
You can visit the site for more information, or click here to see the demo.
In this article we will see how to set up Piwik with HTTPS and Docker. To do that, we will use docker-compose. Our stack will be made up of NGINX, MariaDB, and Piwik.
For Piwik and MariaDB, we will use the images provided by Bitnami:
- MariaDB
- Piwik (
bitnami/piwik; this historical image's Docker Hub listing is no longer available)
Finally, for NGINX and HTTPS, we will use nginx-proxy and docker-letsencrypt-nginx-proxy-companion, two images that let us automatically generate the NGINX configuration as well as Let's Encrypt certificates.
To begin, create a srv-piwik folder and add our docker-compose.yml file to it:
mkdir srv-piwik && cd srv-piwik
touch docker-compose.yml
Now add the nginx-proxy and ssl-companion services:
version: '2'
services:
  nginx-proxy:
    image: jwilder/nginx-proxy
    container_name: nginx-proxy
    ports:
      - '80:80'
      - '443:443'
    volumes:
      - /var/run/docker.sock:/tmp/docker.sock:ro
      - /etc/nginx/vhost.d
      - /usr/share/nginx/html
      - /apps/web/ssl:/etc/nginx/certs:ro
  ssl-companion:
    image: jrcs/letsencrypt-nginx-proxy-companion
    container_name: ssl-companion
    volumes:
      - /apps/web/ssl:/etc/nginx/certs:rw
      - /var/run/docker.sock:/var/run/docker.sock:ro
    volumes_from:
      - nginx-proxy
    depends_on:
      - nginx-proxy
Then add MariaDB:
mariadb:
  image: 'bitnami/mariadb:latest'
  environment:
    - MARIADB_ROOT_PASSWORD=YOURROOTPASSWORD
  volumes:
- './data/mariadb/mariadb:/bitnami/mariadb'- We define that we are using the
bitnami/mariadbimage. - We define the database password value.
- We create a volume so we can recover the data if we want to make a backup.
To finish, add the Piwik service:
piwik:
  image: 'bitnami/piwik:latest'
  ports:
    - 80
  depends_on:
    - mariadb
  volumes:
    - './data/piwik/latest:/bitnami/piwik'
    - './data/apache/latest:/bitnami/apache'
    - './data/php/latest:/bitnami/php'
  environment:
    - VIRTUAL_HOST=analytics.example.com
    - LETSENCRYPT_HOST=analytics.example.com
    - [email protected]
- MARIADB_PASSWORD=YOURROOTPASSWORD- We define that we are using the
bitnami/piwikimage. - We map port 80 between the host machine and the container.
- We link the service to the
mariadbservice. - We define the volumes.
- We define the environment variables required by NGINX and Let's Encrypt by setting the domain through which we want to access the service. To finish, we define the database password, which must be identical to the one declared in the
mariadbservice.
Here is the complete docker-compose.yml file:
version: '2'
services:
  nginx-proxy:
    image: jwilder/nginx-proxy
    container_name: nginx-proxy
    ports:
      - '80:80'
      - '443:443'
    volumes:
      - /var/run/docker.sock:/tmp/docker.sock:ro
      - /etc/nginx/vhost.d
      - /usr/share/nginx/html
      - /apps/web/ssl:/etc/nginx/certs:ro
  ssl-companion:
    image: jrcs/letsencrypt-nginx-proxy-companion
    container_name: ssl-companion
    volumes:
      - /apps/web/ssl:/etc/nginx/certs:rw
      - /var/run/docker.sock:/var/run/docker.sock:ro
    volumes_from:
      - nginx-proxy
    depends_on:
      - nginx-proxy
  mariadb:
    image: 'bitnami/mariadb:latest'
    environment:
      - MARIADB_ROOT_PASSWORD=YOURROOTPASSWORD
    volumes:
      - './data/mariadb/mariadb:/bitnami/mariadb'
  piwik:
    image: 'bitnami/piwik:latest'
    ports:
      - 80
    depends_on:
      - mariadb
    volumes:
      - './data/piwik/latest:/bitnami/piwik'
      - './data/apache/latest:/bitnami/apache'
      - './data/php/latest:/bitnami/php'
    environment:
      - VIRTUAL_HOST=analytics.example.com
      - LETSENCRYPT_HOST=analytics.example.com
      - [email protected]
      - MARIADB_PASSWORD=YOURROOTPASSWORD
All that remains is to copy the docker-compose.yml file to your server, replace the environment variables with your values, and run the command:
docker-compose up -dIf you want more detail about DNS configuration and installation on DigitalOcean, you can consult this article.
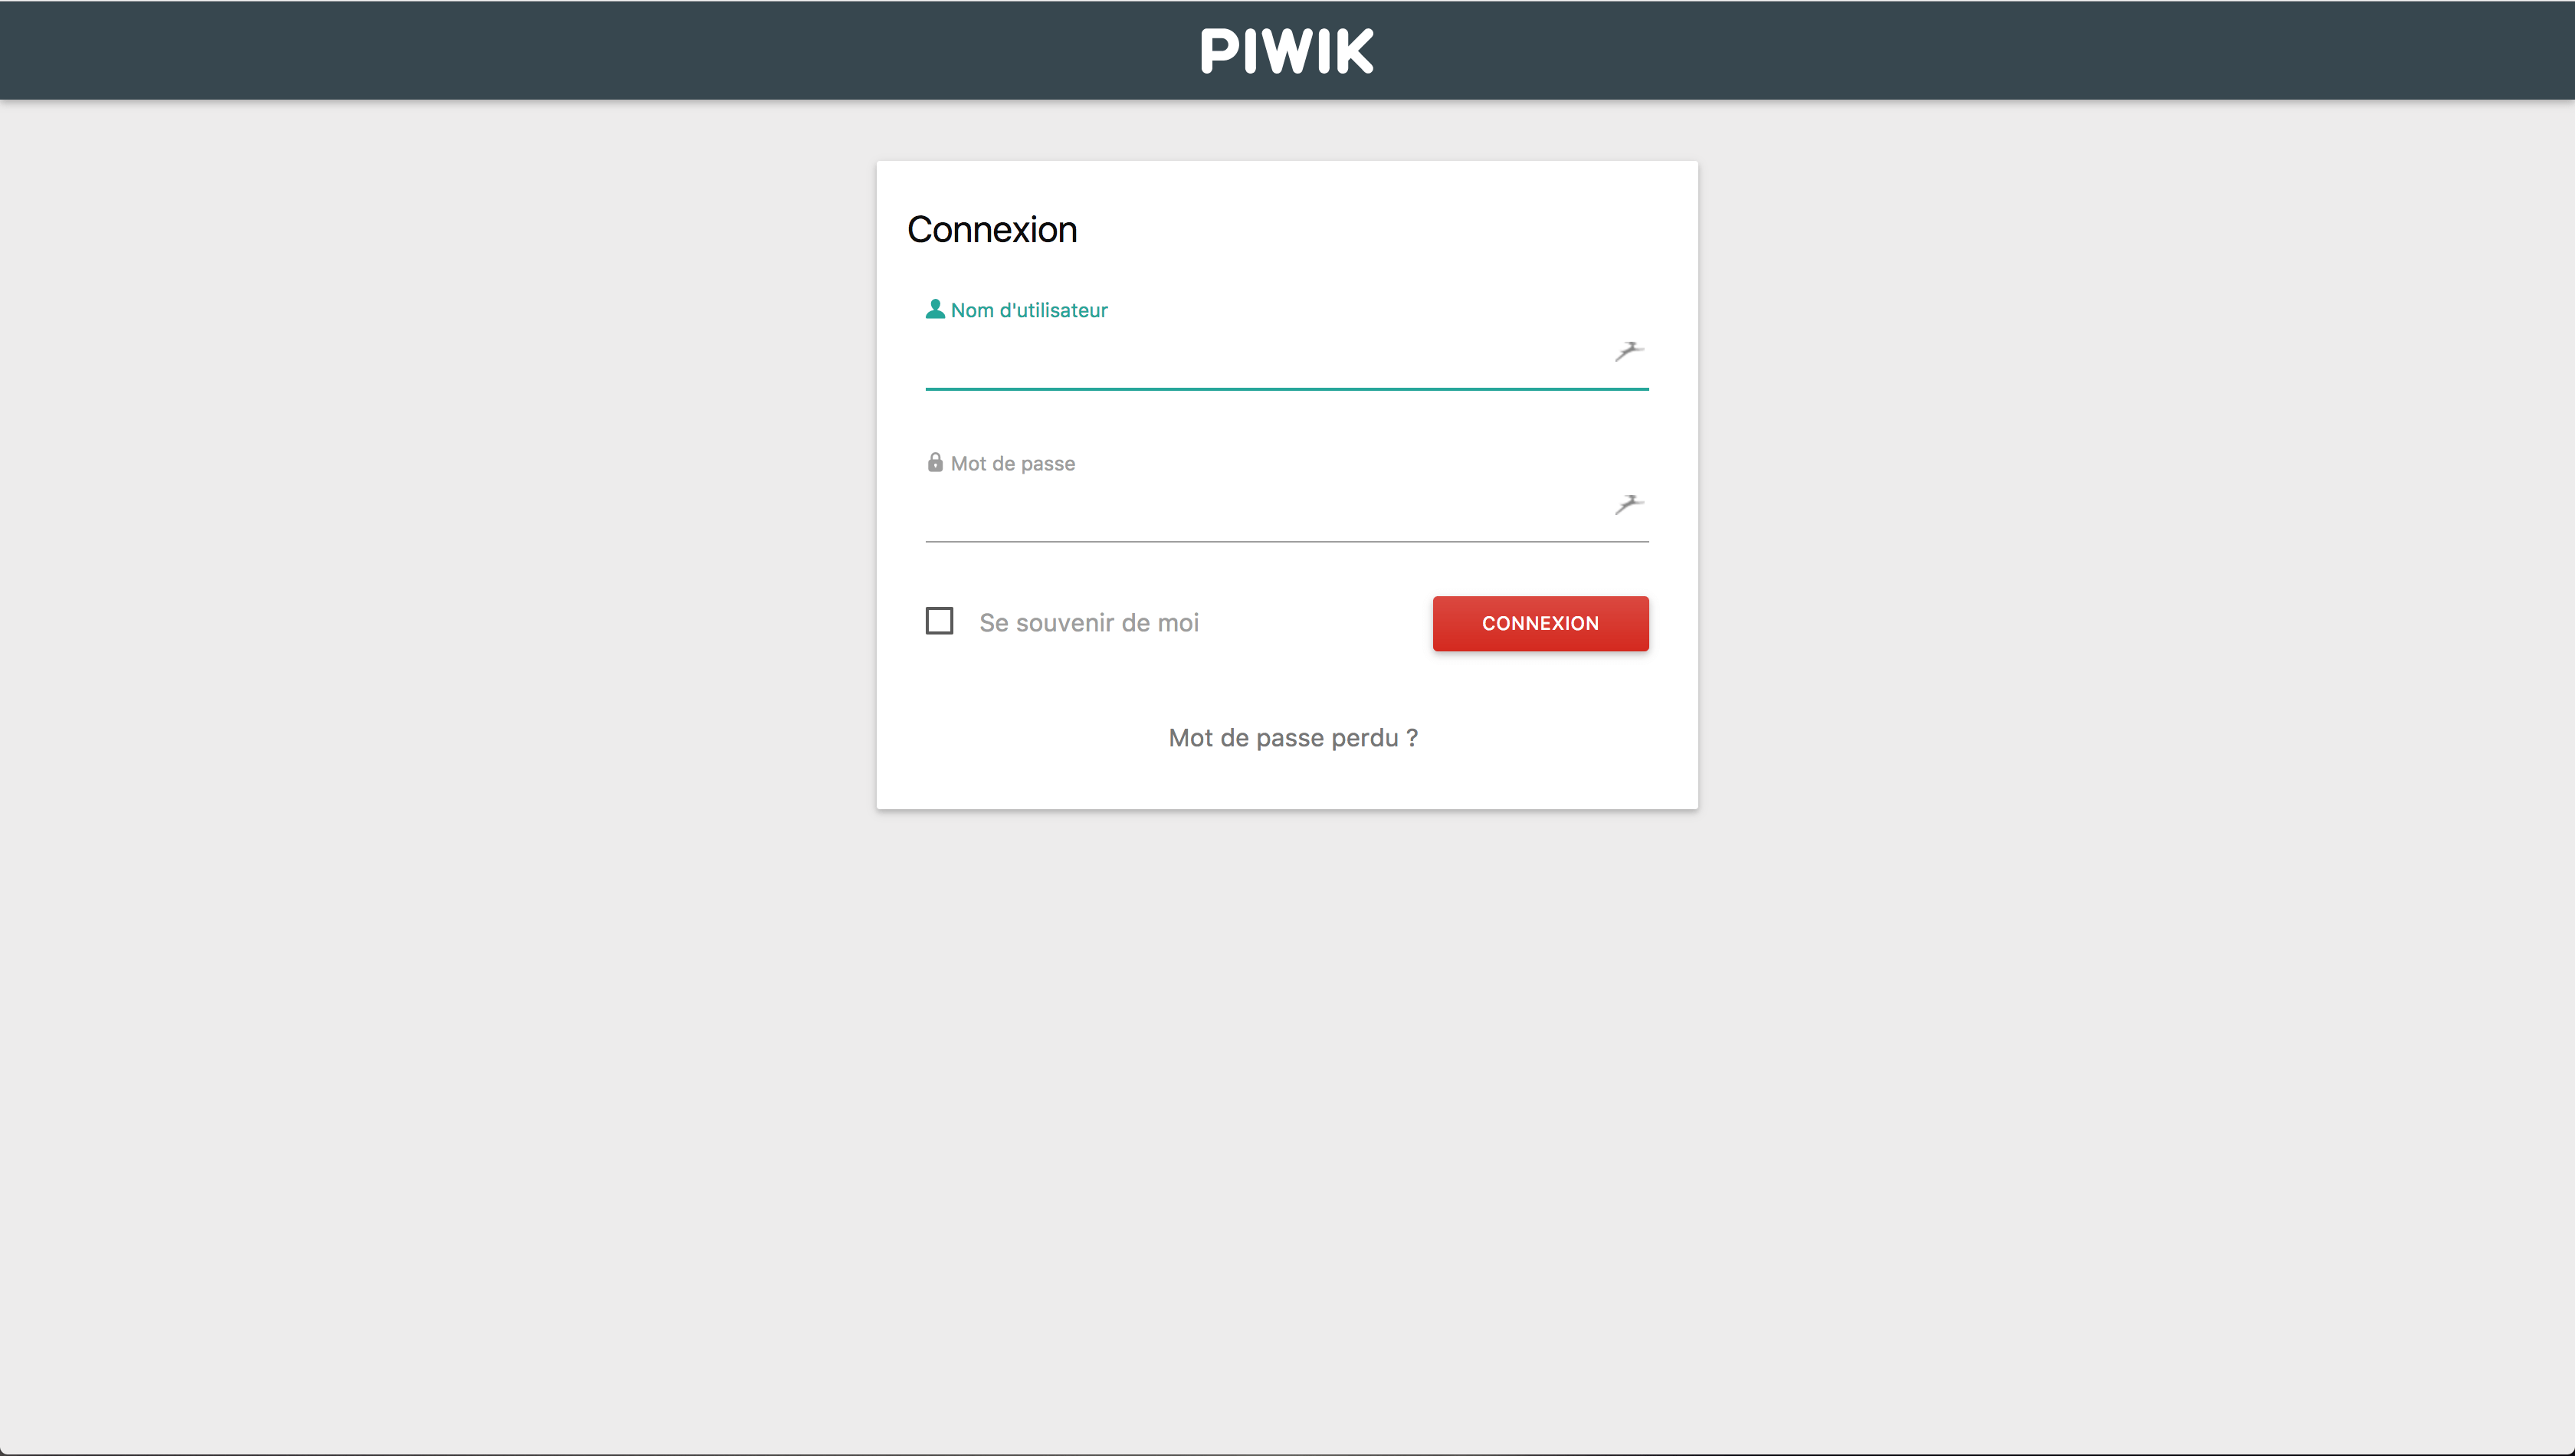
The default credentials are:
- User:
user - Password:
bitnami
Then all that remains is to follow the instructions to start tracking data for your site.
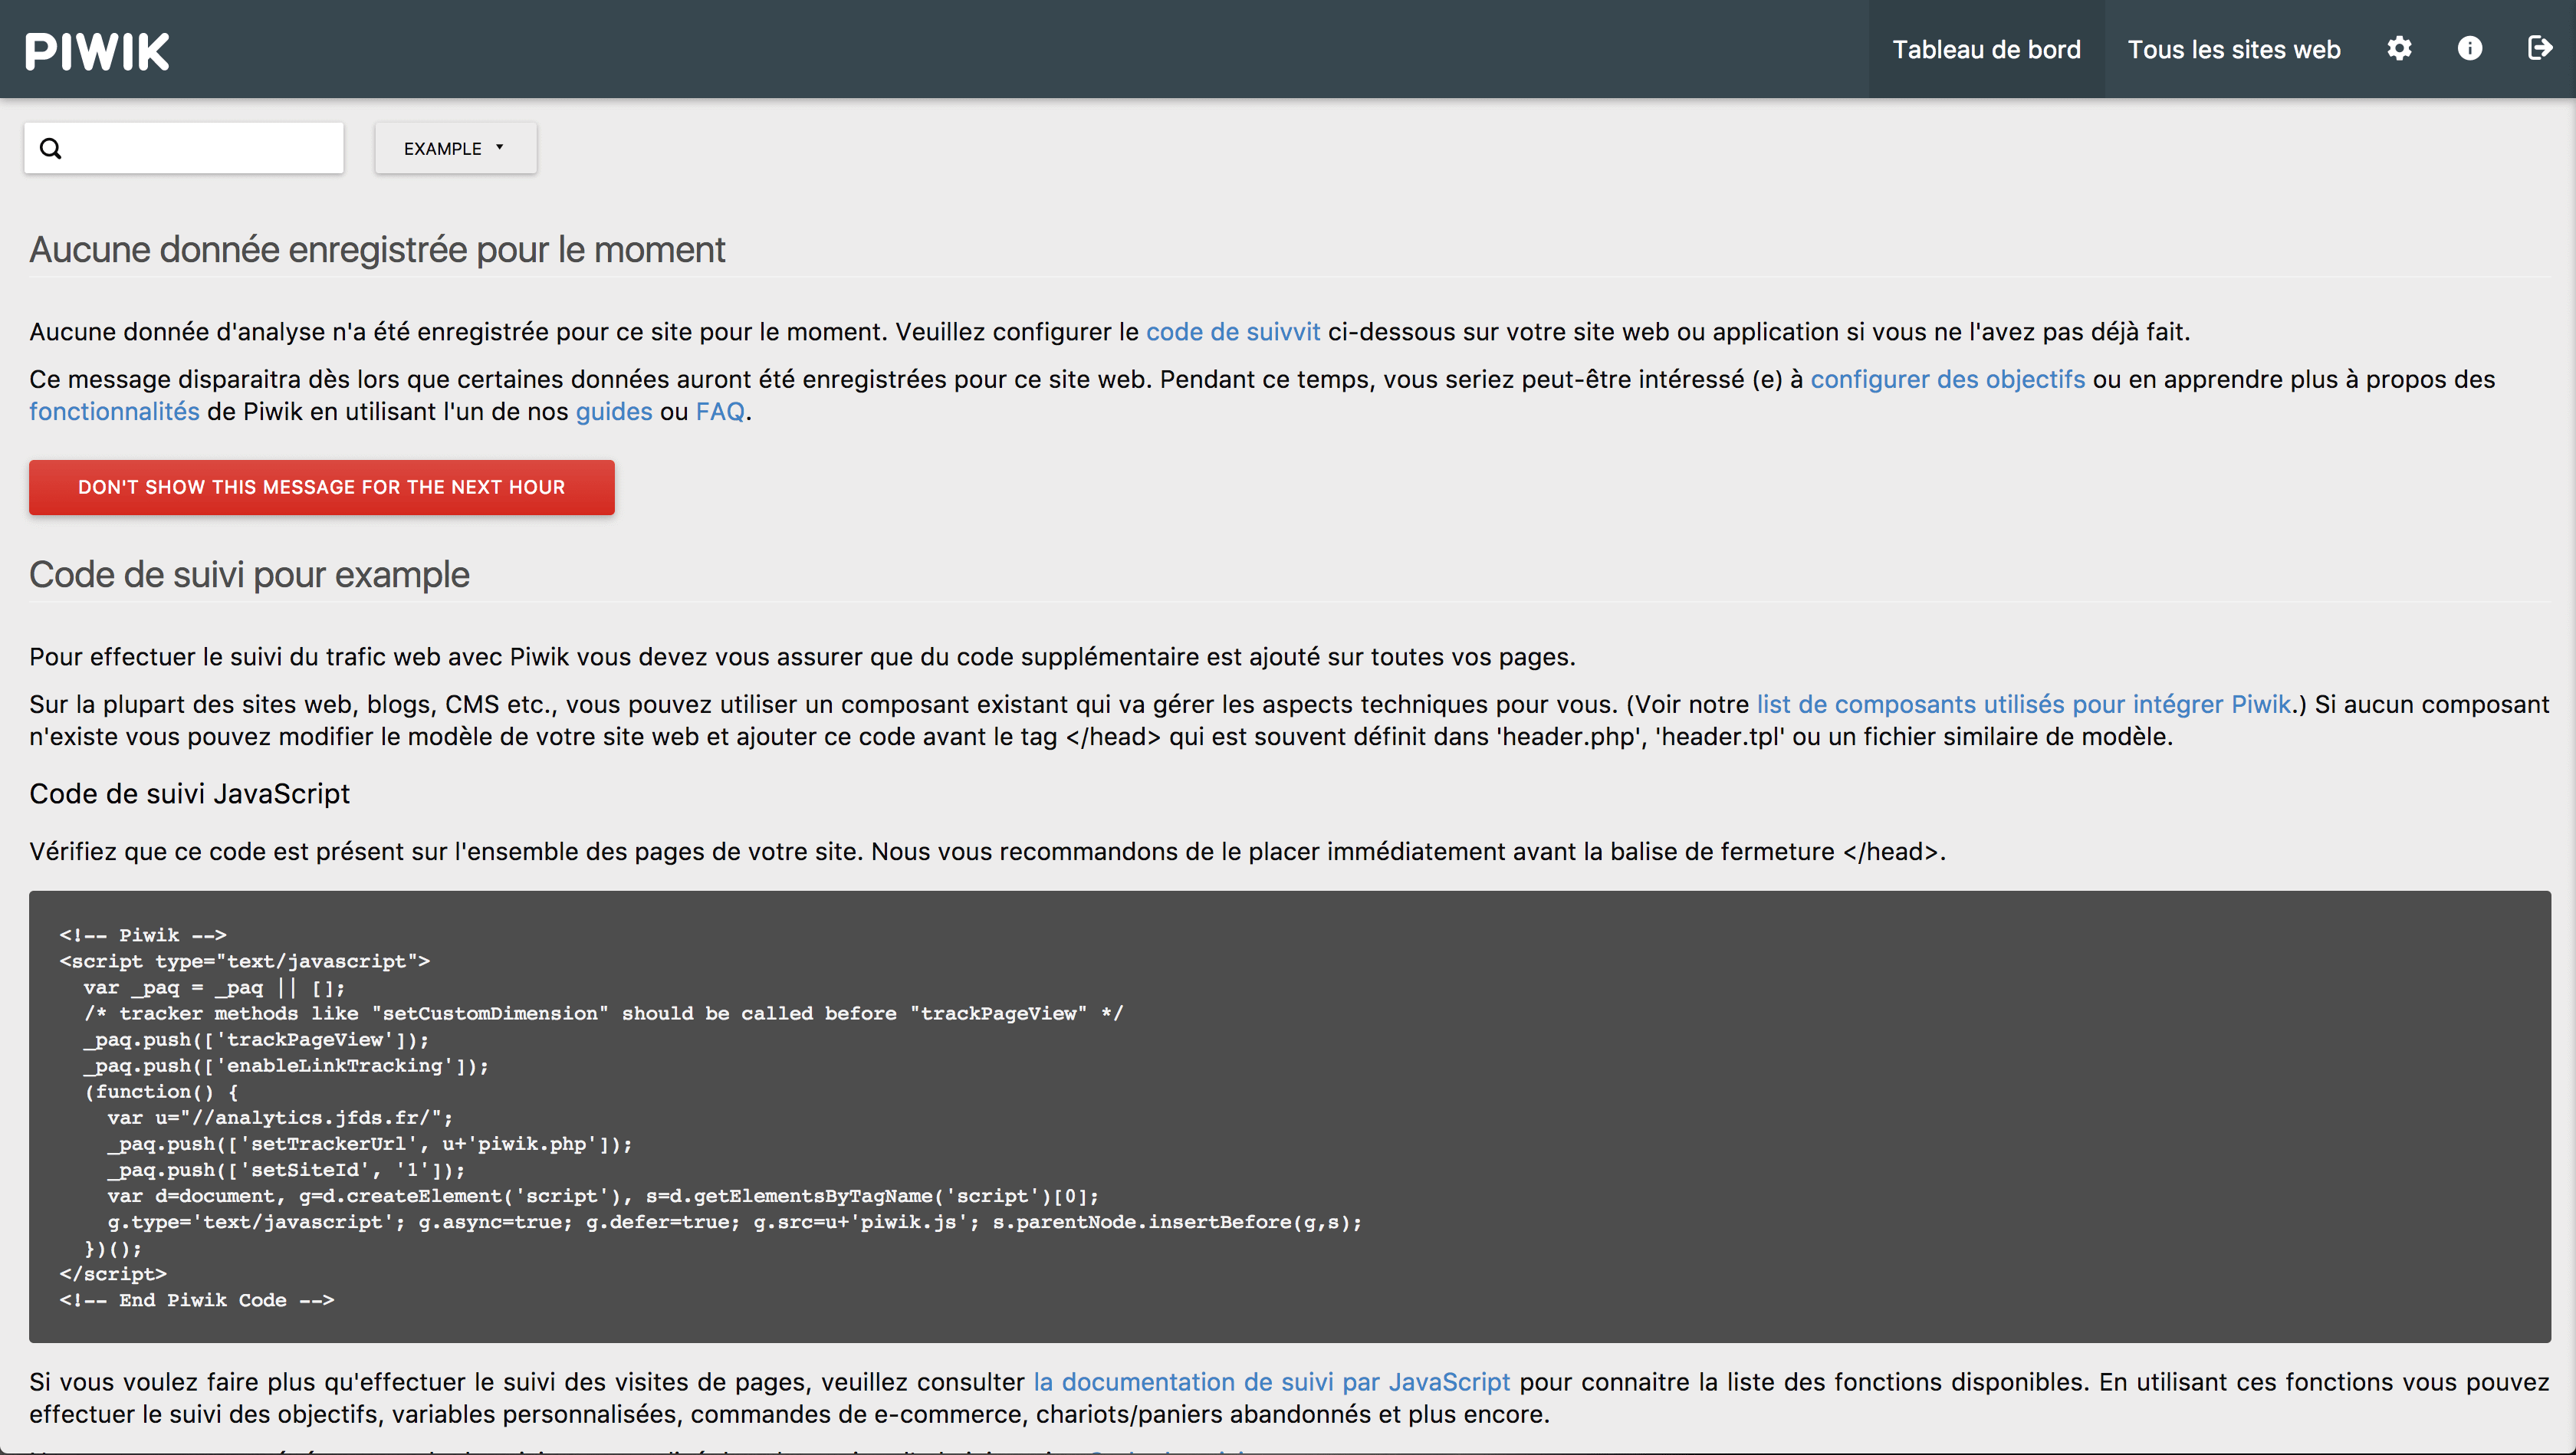
Also remember to change the login information.
Now we have a Piwik server available to us that is accessible through HTTPS.