This is the introduction to a series of articles in which we will build a mobile password-manager application with React Native.
The application's features will be:
- Define the main password that will be used as the key to encrypt the data.
- Add/edit/delete a password in the password list.
- Encrypt all data.
- Automatically generate strong passwords.
- Export/import data.
In this article series we will cover the following topics:
- Using navigation with the react-navigation library
- Using redux
- Saving data with redux-persist
- Using Flow
- Creating an application with platform-specific components (Android, iOS)
- Internationalization
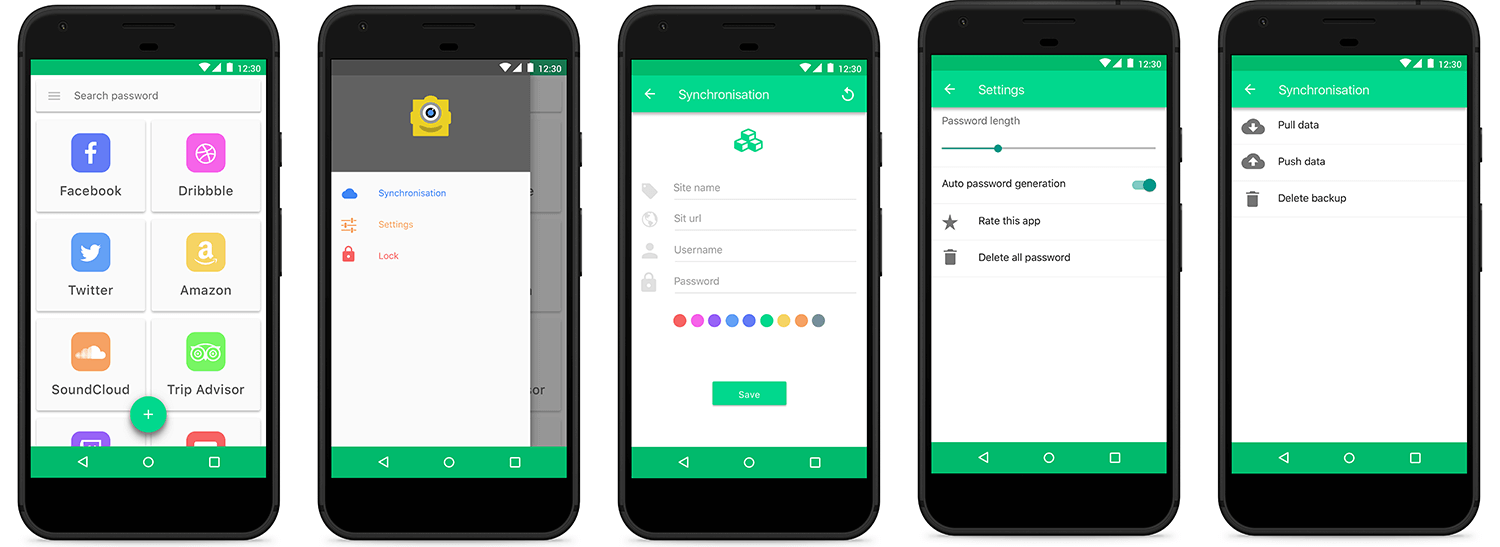
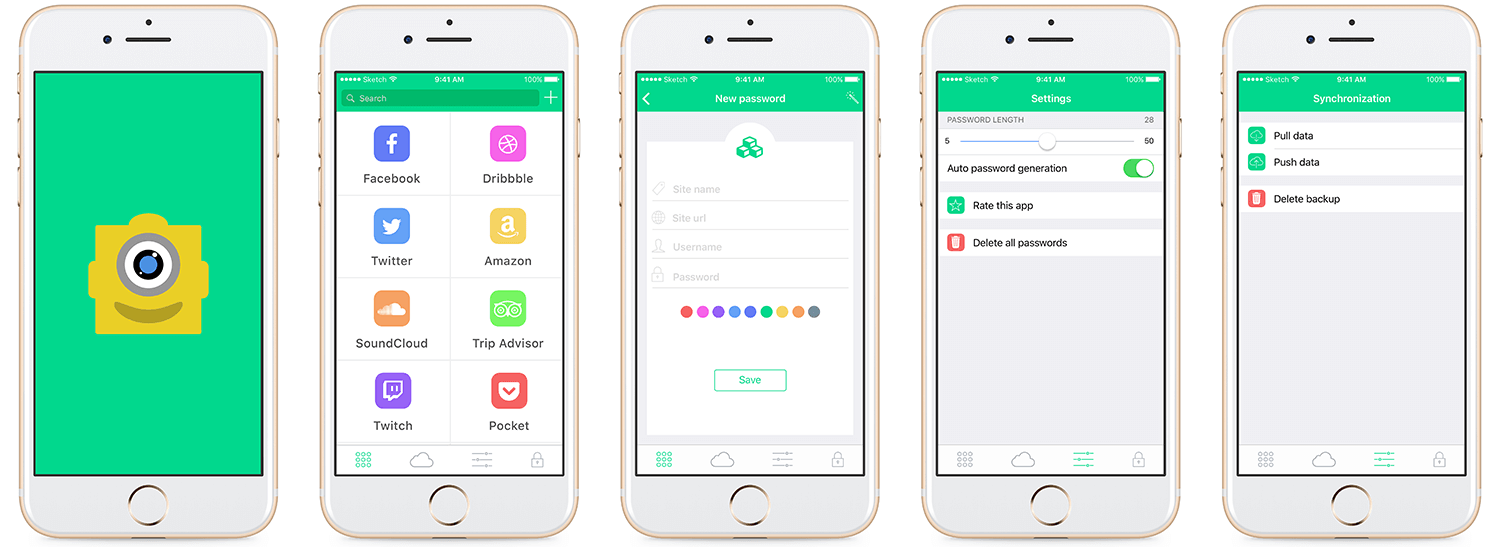
Here is what the application should look like on iOS and Android.
Android:
iOS:
Here is the article plan:
- Introduction and project initialization
- Creating the components
- Screens and navigation with react-navigation
- Managing the application's settings
- Managing the application's passwords
- Managing data import/export
Project initialization
Let's start by creating the React Native project:
react-native init vaultNext, follow this article if you want to configure your development environment the same way I do. Otherwise, just follow the step for installing Flow.
Next we will install the different libraries we will use to create the components in the next article:
- yarn add react-native-animatable react-native-i18n react-native-keyboard-aware-scroll-view react-native-swiper react-native-vector-icons
- react-native-animatable: simplifies the use of animations.
- react-native-i18n: for internationalizing our application.
- react-native-keyboard-aware-scroll-view: for handling issues with the keyboard and text fields on iOS.
- react-native-swiper: this will let us create an onboarding screen.
- react-native-vector-icons: an icon library.
Now that the libraries are installed, we will prepare the application's internationalization. In the project, create an src folder, and inside it a locales folder:
mkdir src && cd src
mkdir locales
Then, in the locales folder, we will create three files:
- fr.js: contains the JSON object with all the French resources.
- en.js: contains the JSON object with all the English resources.
- strings.js: contains the JSON object with all the translated resources.
You can read this article for more details about how internationalization works with React Native.
Add the following code to each file:
en.js
export default {
  vault_test: 'This is the test string for Vault app',
};
fr.js
export default {
  vault_test: "Ceci une chaine de test pour l'applications Vault",
};
strings.js
import I18n from 'react-native-i18n';
import en from './en';
import fr from './fr';

I18n.fallbacks = true;

I18n.translations = {
  en,
  fr,
};

const AppString = {
  vault_test: I18n.t('vault_test'),
};

export default AppString;
Finally, to test that what we just did works correctly, we will create an index.js file at the root of our src folder and add the following code:
/**
 * Sample React Native App
 * https://github.com/facebook/react-native
 * @flow
 */

import React from 'react';
import { StyleSheet, Text, View } from 'react-native';
import strings from './locales/string';

export default () => (
  <View style={styles.container}>
    <Text style={styles.welcome}>{strings.vault_test}</Text>
  </View>
);

const styles = StyleSheet.create({
  container: {
    flex: 1,
    justifyContent: 'center',
    alignItems: 'center',
    backgroundColor: '#F5FCFF',
  },
  welcome: {
    fontSize: 20,
    textAlign: 'center',
    margin: 10,
  },
});
Then replace the code in the index.android.js and index.ios.js files with this:
/**
 * Sample React Native App
 * https://github.com/facebook/react-native
 * @flow
 */

import { AppRegistry } from 'react-native';
import App from './src';

AppRegistry.registerComponent('vault', () => App);
That's it, we have finished initializing the project. In the next article, we will create all the application's components.
Series navigation
- React Native Password Manager: Introduction
- React Native Password Manager: Creating the Components
- React Native Password Manager: The Screens
- React Native password manager: Navigation
- React Native password manager: Redux and settings management
- React Native password manager: Initialization and unlocking
- React Native password manager: Password management
- React Native password manager: Synchronization management