In todays post I will introduce you to NW3, a boilerplate to quickly build web3 application. In the last few days we have seen a lot of things about authentication and authorization with Next-Auth, we have also discover how to use wagmi and Rainbowkit. Each time we had to setup a new project and it was a bit tedious. So I decided to create a boilerplate to quickly start a new project it regroup all the things we have seen in the last few days.
I tried to make it as much configurable as possible, so you can easily change the theme, the authentication provider, I also tried to make it as much modular as possible, so you can easily add new features. This is still a work in progress, so if you have any suggestion or if you want to contribute, feel free to open an issue or a PR.
The boilerplate is available on Github.
Stack
- Typescript
- Next.js
- Tailwindcss
- Rainbowkit
- Wagmi
- Next-Auth
- HeadlessUI
- Tanstack Query
- Alchemy Sdk
Features
- Sign in with ethereum
- Token gated partially or fully
- Langing page with a hero section
- Allow to define if user can switch of wallet
This boilerplate contain a home page wich is a landing page with a hero section.
It also contain a sign in page, you can sign in with ethereum, and maintain a user session with next-auth. You can configure the app to be fully token gated wich means the user wont be able to access the app if he doesn't have a token of particular ERC-721 contract.
But you can also allow the app to be partially token gated, wich means the user will be able to access the app but some part of the app will be hidden if he doesn't have a token of particular ERC-721 contract.
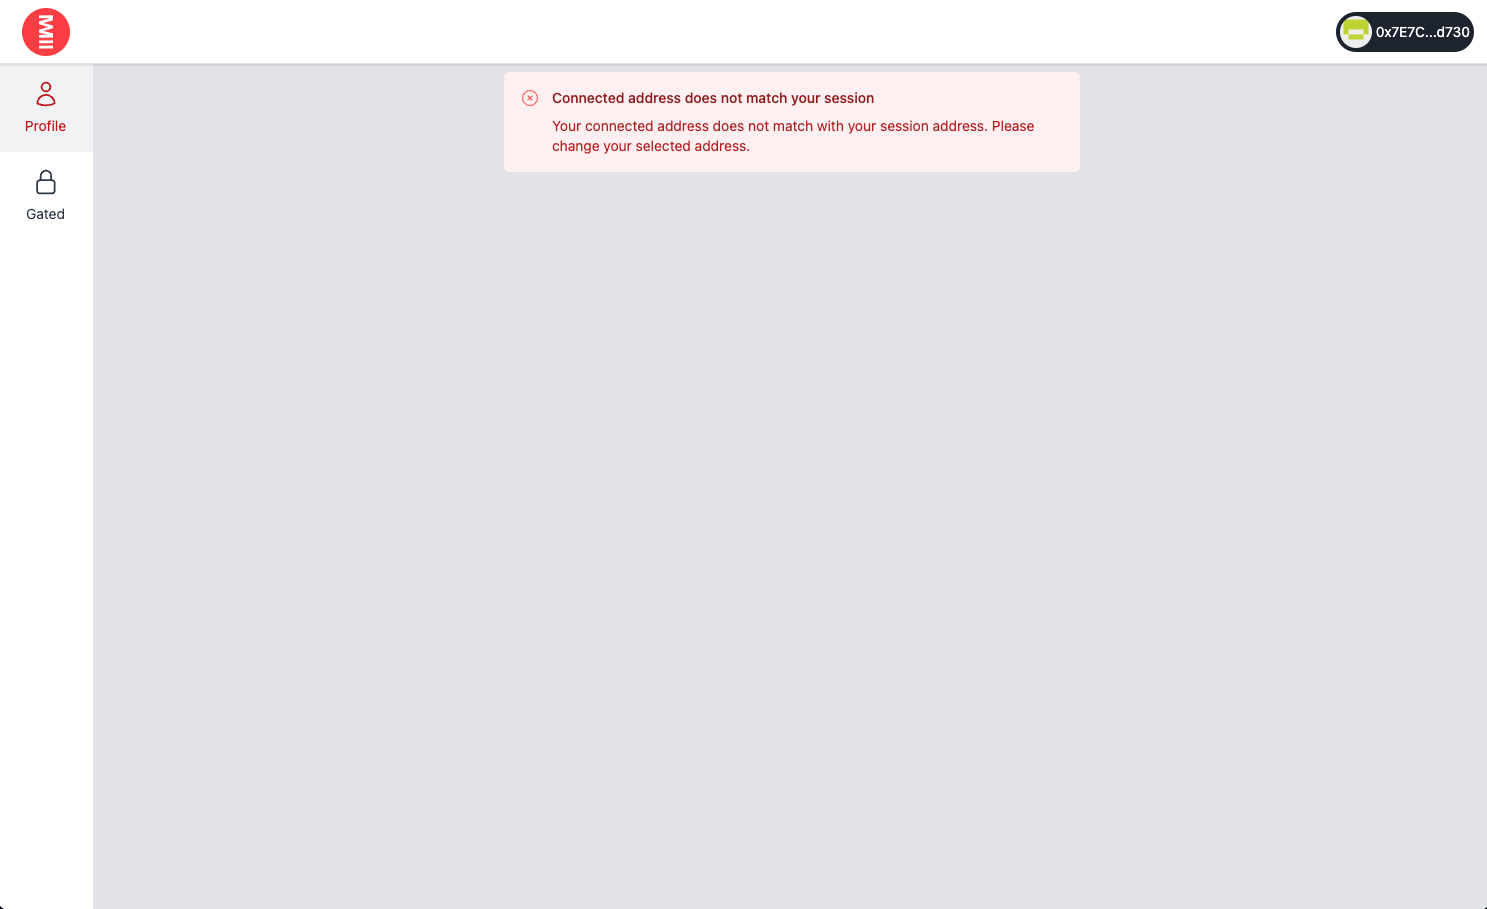
You can also define if the user can switch of wallet, if you set it to false, the user will see an error when he switch of wallet.
Here is a preview of how it look like :


How to use it
First you need to clone the repo :
git clone https://github.com/0xtiby/nw3
Then you need to install the dependencies :
yarnThen you need to create a .env.local file and add the following variables :
NEXT_PUBLIC_ALCHEMY_API_KEY=xxxxx
NEXT_PUBLIC_APP_NAME=NW3
NEXT_PUBLIC_AUTO_CONNECT=true
NEXT_PUBLIC_ALLOW_MISMATCH_BEETWEEN_SESSION_AND_ACCOUNT=false
NEXTAUTH_URL=http://localhost:3000/
NEXTAUTH_SECRET=my-secret
TOKEN_GATED=true
TOKEN_GATED_ADDRESS=0x
TOKEN_GATED_ELAPSED_TIME_BETWEEN_CONTROL=
TOKEN_GATED_REQUIRED_TO_LOGIN=
NEXT_PUBLIC_ALCHEMY_API_KEY is the api key of alchemy, you can get one here.
APP_NAME is the name of your app, it will be used in the title of the page.
AUTO_CONNECT is a boolean, if set to true, the user will be automatically connected to his wallet via RainbowKit.
ALLOW_MISMATCH_BEETWEEN_SESSION_AND_ACCOUNT is a boolean, if set to true, the user will be able to switch of wallet.
NEXTAUTH_URL is the url of your app, it's used by next-auth.
NEXTAUTH_SECRET used to encrypt the NextAuth.js JWT.
TOKEN_GATED define if the app need to validate the owernship of a particular token it will add a isOwner property to the JWT token and the session.
TOKEN_GATED_ADDRESS the address of the contract the application need to verify the owernship.
TOKEN_GATED_ELAPSED_TIME_BETWEEN_CONTROL the time in ms between each control of the token ownership. Default is 4 hours.
TOKEN_GATED_REQUIRED_TO_LOGIN define is the user need to have the token to access the app. Default is false.
All the configuration is set in the config/config.ts file, it's a wrapper arround environment variables, so you can easily change the configuration by changing the environment variables but for some cases it's not possible to set the config in environment variables so it's directly set in this file.
All the TOKEN_GATED... variables are required only if you want to set your app to be token gated. You can remove it if you don't want to use it.
How to add a new page
If you want to add a new page, you need to create a new file in the pages/app/ folder. If the page is token gated you need to add in the middleware.ts file.
import { NextResponse } from 'next/server'
import { routes } from './routes'
import { withAuth } from 'next-auth/middleware'

export default withAuth(function middleware(req) {
  if (
    req.nextUrl.pathname.startsWith('/app/gated') &&
    !req.nextauth.token?.isOwner
  ) {
    return NextResponse.redirect(new URL(routes.unauthorized, req.url))
  }
  if (
    req.nextUrl.pathname.startsWith('/app/your-new-page') &&
    !req.nextauth.token?.isOwner
  ) {
    return NextResponse.redirect(new URL(routes.unauthorized, req.url))
  }
})

export const config = {
  matcher: ['/app/:path*'],
}
Conclusion
After this you can run yarn dev and you should be able to access the app on http://localhost:3000.
This is just the beginning, I will add more features in the future. More detailed documentation will be added too.
Like I said before, if you have any suggestion or if you want to contribute, feel free to open an issue or a PR.