In this article, we will see how to create an animated placeholder that is displayed while data is loading, like Facebook does in its app.
Let's start by creating a new project and initializing the folder structure.
react-native init ReactNativeFbLikeLoader
cd ReactNativeFbLikeLoader
mkdir src
cd src && touch index.js
mkdir components
Then replace the code in the index.ios.js and index.android.js files with the following:
/**
 * Sample React Native App
 * https://github.com/facebook/react-native
 * @flow
 */
import { AppRegistry } from 'react-native'
import App from './src/index'

AppRegistry.registerComponent('ReactNativeFbLikeLoader', () => App)
To build this component, we will need the react-native-linear-gradient library.
yarn add react-native-linear-gradient
react-native link
Now that the project is correctly initialized, we can begin.
In the components folder, create a ContentPlaceHolder.js file and add the following code:
import React, { Component } from 'react'
import { AppRegistry, StyleSheet, Text, View } from 'react-native'

export default class ContentPlaceHolder extends Component {
  constructor() {
    super()
  }

  render() {
    return <View style={styles.wrapper} />
  }
}

const styles = StyleSheet.create({
  wrapper: {
    height: 160,
    borderWidth: 1,
    borderRadius: 3,
    borderColor: '#dfe0e4',
    backgroundColor: '#fff',
    padding: 12,
    marginBottom: 12,
  },
})
Here, we simply define a view that represents the container for a Facebook status, for example.
Next, to visualize the result, add the following code in the index.js file.
import React, { Component } from 'react'
import { AppRegistry, StyleSheet, Text, View } from 'react-native'

import ContentPlaceHolder from './components/ContentPlaceHolder'

export default class ReactNativeFbLikeLoader extends Component {
  render() {
    return (
      <View style={styles.container}>
        <ContentPlaceHolder />
      </View>
    )
  }
}

const styles = StyleSheet.create({
  container: {
    flex: 1,
    justifyContent: 'center',
    backgroundColor: '#F5FCFF',
    padding: 12,
  },
})
You should get this result:
Next, to get a result similar to Facebook's placeholder animation, we will add a view with a gray background and another view with a gradient that moves from left to right. Finally, we will add views with a white background to obtain the different rectangles representing the post content.
Let's start by adding the view with the gray background.
ContentPlaceHolder.js
export default class ContentPlaceHolder extends Component {
  constructor() {
    super()
    this.state = {
      width: 0,
    }
  }

  _onLayout(event) {
    var { width } = event.nativeEvent.layout
    this.setState({
      width: width,
    })
  }

  render() {
    return (
      <View style={styles.wrapper}>
        <View
          style={styles.background}
          onLayout={event => {
            this._onLayout(event)
          }}
        />
      </View>
    )
  }
}

const styles = StyleSheet.create({
  wrapper: {
    height: 160,
    borderWidth: 1,
    borderRadius: 3,
    borderColor: '#dfe0e4',
    backgroundColor: '#fff',
    padding: 12,
    marginBottom: 12,
  },
  background: {
    backgroundColor: '#f6f7f8',
  },
})
Here, we start by adding the width variable to our component state. Then the _onLayout method lets us retrieve and define the width value using the view width. The width variable will later be used to animate the view with the gradient. Finally, we add the view and its style to the component.
We will now add the animated view with the gradient.
ContentPlaceHolder.js
import React, { Component } from 'react'
import { AppRegistry, StyleSheet, Text, View, Animated, Easing } from 'react-native'

import LinearGradient from 'react-native-linear-gradient'

const gradientWidth = 75

export default class ContentPlaceHolder extends Component {
  constructor() {
    super()
    this.animatedValue = new Animated.Value(0)
    this.state = {
      width: 0,
    }
  }

  _onLayout(event) {
    var { width } = event.nativeEvent.layout
    this.setState({
      width: width,
    })
  }

  animate() {
    this.animatedValue.setValue(0)
    Animated.timing(this.animatedValue, {
      toValue: 1,
      duration: 800,
      easing: Easing.linear,
    }).start(() => this.animate())
  }

  componentDidMount() {
    this.animate()
  }

  render() {
    const marginEnd = this.state.width - gradientWidth
    const marginLeft = this.animatedValue.interpolate({
      inputRange: [0, 1],
      outputRange: [0, marginEnd],
    })

    return (
      <View style={styles.wrapper}>
        <View
          style={styles.background}
          onLayout={event => {
            this._onLayout(event)
          }}
        >
          <Animated.View style={[styles.linGradient, { marginLeft }]}>
            <LinearGradient
              start={{ x: 0, y: 0 }}
              end={{ x: 1, y: 0 }}
              colors={['#f6f7f8', '#e8e8e8', '#dddddd']}
              style={styles.linGradient}
            />
          </Animated.View>
        </View>
      </View>
    )
  }
}

const styles = StyleSheet.create({
  wrapper: {
    height: 160,
    borderWidth: 1,
    borderRadius: 3,
    borderColor: '#dfe0e4',
    backgroundColor: '#fff',
    padding: 12,
    marginBottom: 12,
  },
  background: {
    backgroundColor: '#f6f7f8',
    flex: 1,
  },
  linGradient: {
    width: gradientWidth,
    position: 'absolute',
    top: 0,
    left: 0,
    bottom: 0,
  },
})
Let's look in detail at what we did during this step.
1 . We import Animated and Easing from react-native so we can animate our view later. We import the LinearGradiant component from the react-native-linear-gradient library, and then define a constant that represents the width of this component.
2 . In the constructor, we declare a new Animated.Value. Then we define the animate method and start the animation when the component is mounted.
animate () {
    this.animatedValue.setValue(0)
    Animated.timing(
      this.animatedValue,
      {
        toValue: 1,
        duration: 800,
        easing: Easing.linear
      }
    ).start(() => this.animate())
  }

  componentDidMount () {
    this.animate()
  }
In the animate method, we define a new linear animation with a duration of 800ms. In the start method callback, we call the animate method again, which gives us an infinite animation.
3 . We add AnimatedView and LinearGradiant, along with their styles, to the component.
render() {

    const marginEnd = this.state.width - gradientWidth;
    const marginLeft = this.animatedValue.interpolate({
      inputRange: [0, 1],
      outputRange: [0, marginEnd]
    });

    return (
      <View style={styles.wrapper}>
        <View style={styles.background} onLayout={(event) => { this._onLayout(event) }}>
          <Animated.View style={[styles.linGradient,{marginLeft}]}>
            <LinearGradient
              start={{x: 0, y: 0}} end={{x: 1, y: 0}}
              colors={['#f6f7f8', '#e8e8e8', '#dddddd']}  style={styles.linGradient} />
          </Animated.View>
        </View>
      </View>
    );
  }
The goal of the animation is to increase the marginLeft property up to a certain point before starting again from 0. To do that, we first define the maximum value the property can take; it must be equal to the view width minus the gradient dimension.
Then, using the interpolate method, we define what the value of the marginLeft property should be when the animatedValue value is 1.
Finally, we wrap LinearGradient in AnimatedView. The properties passed to LinearGradient define its color and make the gradient horizontal instead of vertical. We also added the flex: 1 property to the background style so we can visualize the rendering. We will remove it as soon as we add the elements representing the post content.
At this stage, you should get this result, with the animation added:
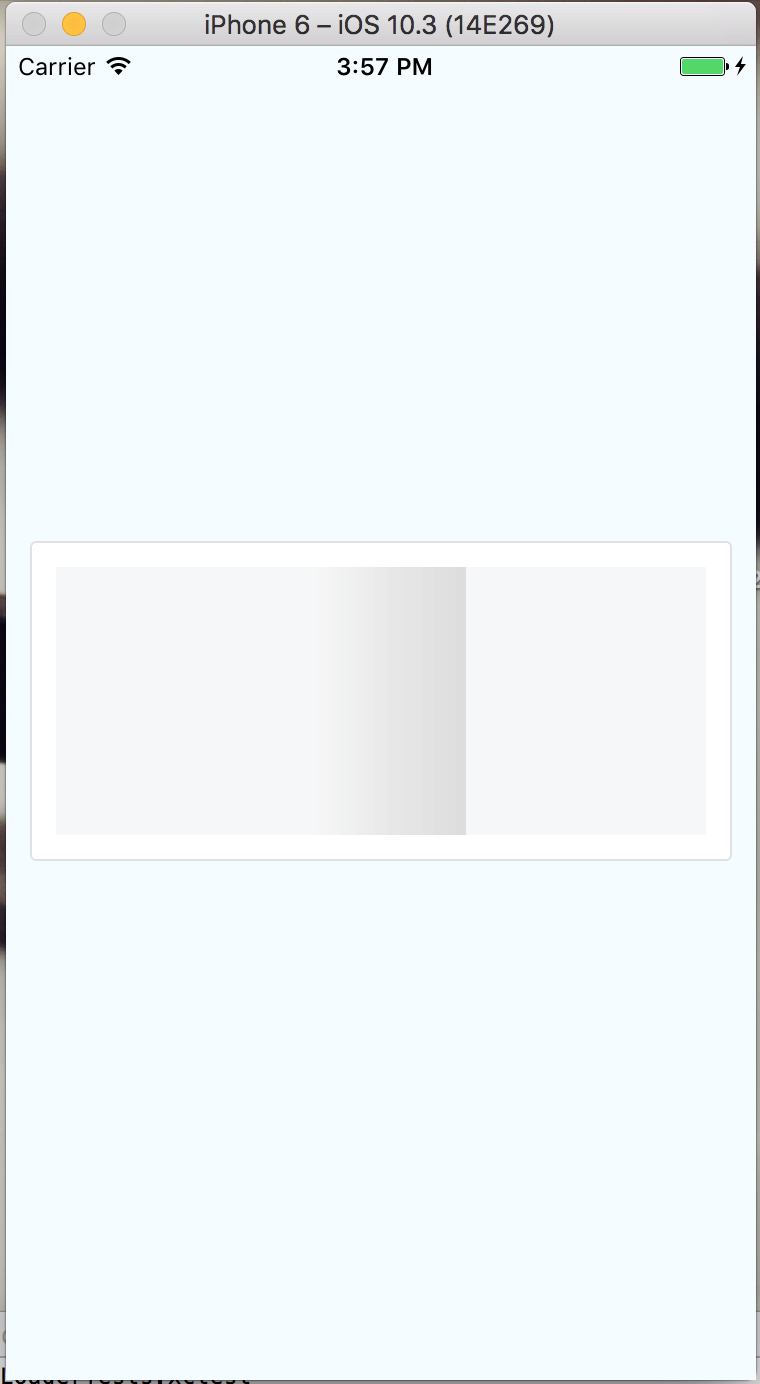
The base is defined. We will add different views with a white background so that only certain parts of the background remain visible to represent the post content.
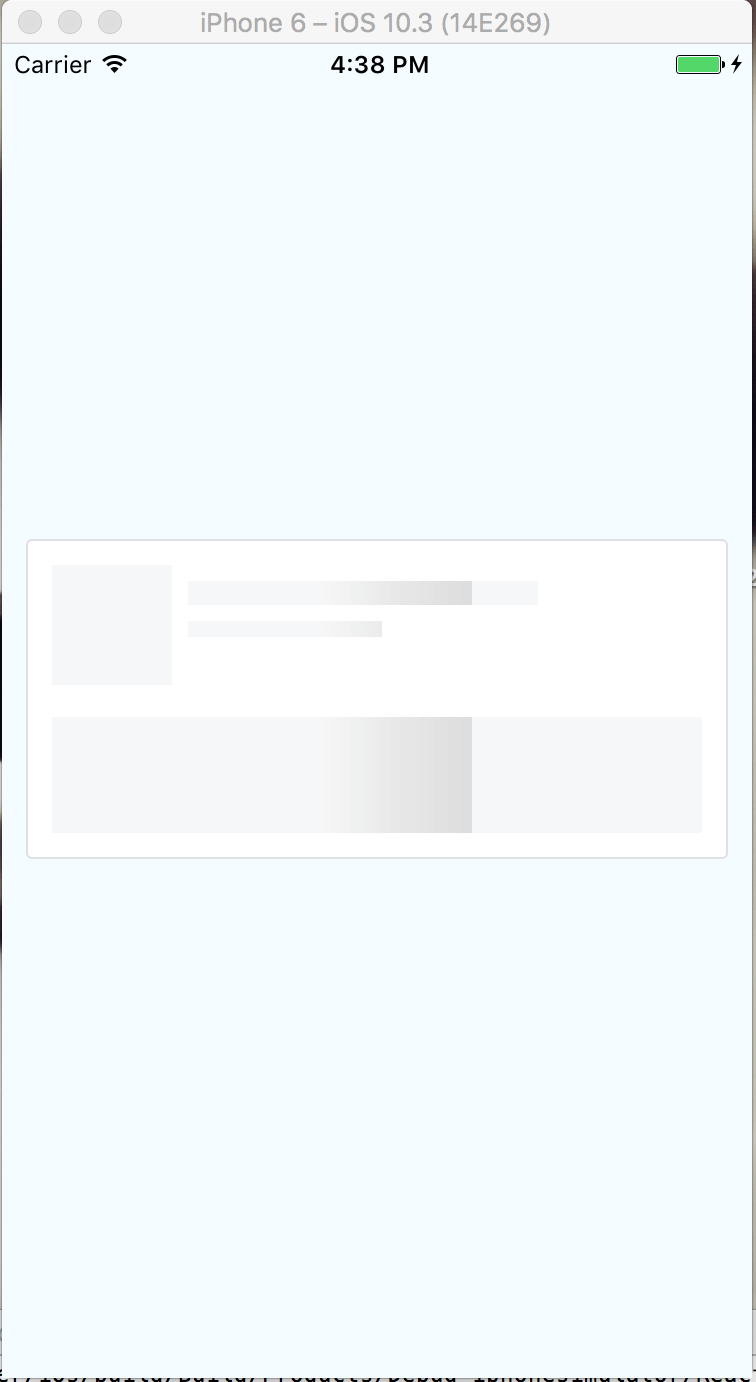
We start with the header, which contains the placeholder for the profile photo, the user's name, and the post date.
Add the following code just below Animated.View
<View style={styles.header}>
<View style={styles.headerLineSeparator}/>
<View style={styles.headerLine}>
  <View style={{height:12,width:8,backgroundColor:'#fff'}}/>
  <View style={{height:12,width:82,backgroundColor:'#fff'}}/>
</View>
<View style={styles.headerLineSeparator}/>
<View style={styles.headerLine}>
  <View style={{height:8,width:8,backgroundColor:'#fff'}}/>
  <View style={{height:8,width:160,backgroundColor:'#fff'}}/>
</View>
<View style={{height:24,backgroundColor:'#fff'}}/>
</View>
<View style={{height:16,backgroundColor:'#fff'}}/>
and the following style after the other component style items
  header:{
    marginLeft:60,
    flexDirection:'column',
  },
  headerLine:{
    justifyContent:'space-between',
    flexDirection:'row'
  },
  headerLineSeparator:{
    height:8,
    backgroundColor:'#fff'
  },
Here is the result:
Now add the placeholder representing the post content
<View style={styles.content}>
  <View style={styles.contentLine}>
    <View style={{ height: 10, width: 32, backgroundColor: '#fff' }} />
  </View>
  <View style={styles.contentLineSeperator} />
  <View style={styles.contentLine}>
    <View style={{ height: 10, width: 20, backgroundColor: '#fff' }} />
  </View>
  <View style={styles.contentLineSeperator} />
  <View style={styles.contentLine}>
    <View style={{ height: 10, width: 90, backgroundColor: '#fff' }} />
  </View>
</View>
and the style
  content:{
    flexDirection:'column',
  },
  contentLine:{
    flexDirection:'row',
    justifyContent:'flex-end'
  },
  contentLineSeperator:{
    height:4,
    backgroundColor:'#fff'
  }
We can now remove the flex: 1 property that we added earlier in the background style.
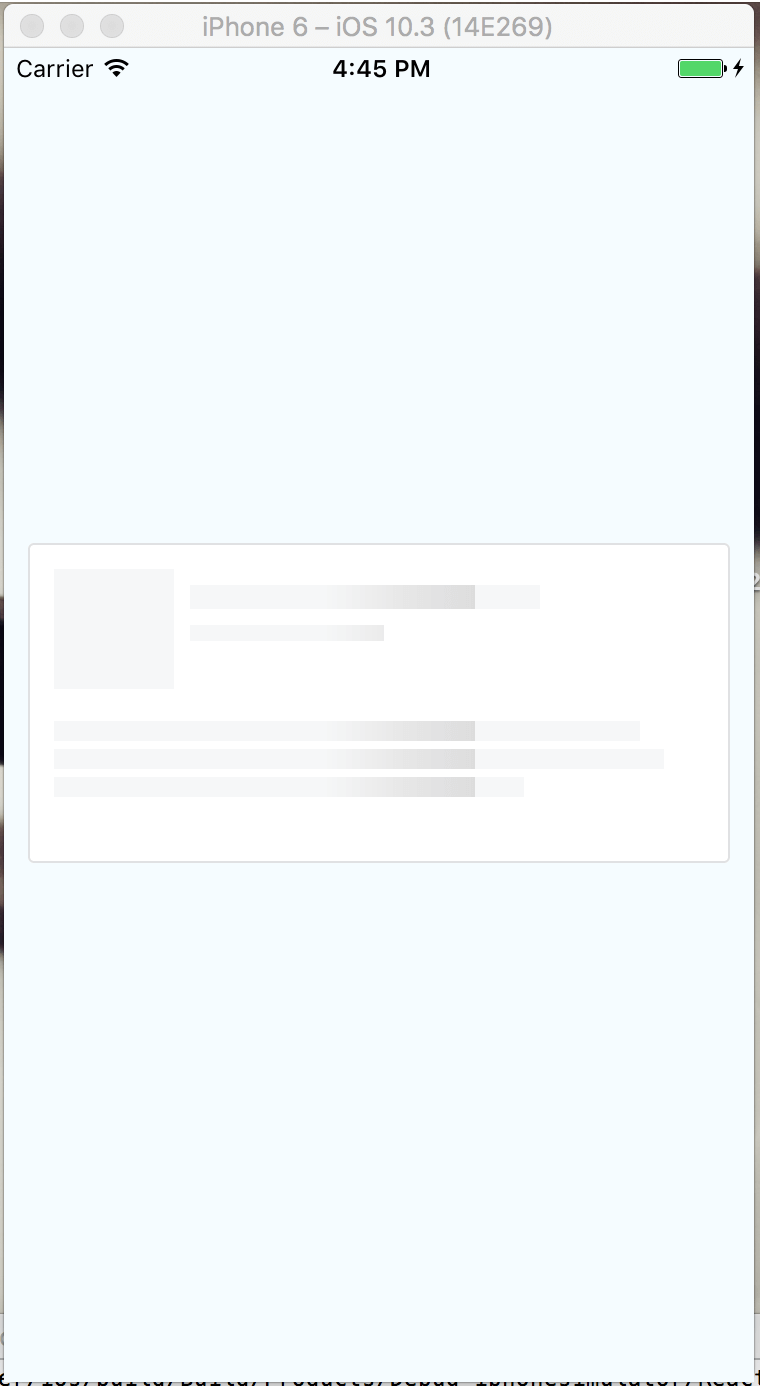
We are finished with the ContentPlaceHolder component.
To finish, we will use this component in an interface that simulates an app with a feed.
In the index.js file, add the following code:
index.js
export default class ReactNativeFbLikeLoader extends Component {
  constructor(props) {
    super(props)
    const ds = new ListView.DataSource({
      rowHasChanged: (r1, r2) => r1 !== r2,
    })
    this.state = {
      ds: ds,
      dataSource: ds.cloneWithRows(data),
      isLoading: true,
    }
  }

  componentDidMount() {
    setTimeout(() => {
      this.setState({ isLoading: false })
    }, 1600)
  }

  render() {
    return (
      <View style={styles.container}>
        <View style={styles.navBar}>
          <StatusBar hidden={false} animated={true} translucent={false} barStyle="light-content" />
          <Text style={styles.title}>Example Feed</Text>
        </View>
        {this.renderContent()}
      </View>
    )
  }

  renderContent() {
    import React, { Component } from 'react'
    import { AppRegistry, StyleSheet, Text, View, StatusBar, ListView, Image } from 'react-native'

    import ContentPlaceHolder from './components/ContentPlaceHolder'

    const data = [
      {
        first: 'casimiro araújo',
        picture: {
          thumbnail: 'https://randomuser.me/api/portraits/thumb/men/77.jpg',
        },
        post: 'Suspicio? Bene ... tunc ibimus? Quis',
        date: '07/05/2017',
      },
      {
        first: 'marie vetter',
        picture: {
          thumbnail: 'https://randomuser.me/api/portraits/thumb/women/1.jpg',
        },
        post: 'No speeches. Short speech. You lost ',
        date: '07/05/2017',
      },
      {
        first: 'denis pires',
        picture: {
          thumbnail: 'https://randomuser.me/api/portraits/thumb/men/24.jpg',
        },
        post: 'Four pounds... foooour pounds as if ',
        date: '07/05/2017',
      },
      {
        first: 'milton patterson',
        picture: {
          thumbnail: 'https://randomuser.me/api/portraits/thumb/men/45.jpg',
        },
        post: "Walter, you've been busy. You wanna",
        date: '07/05/2017',
      },
      {
        first: 'پرهام کامروا',
        picture: {
          thumbnail: 'https://randomuser.me/api/portraits/thumb/men/31.jpg',
        },
        post: 'Sorry, buddy. No can do. Pain ',
        date: '07/05/2017',
      },
      {
        first: 'jennie coleman',
        picture: {
          thumbnail: 'https://randomuser.me/api/portraits/thumb/women/76.jpg',
        },
        post: 'You are done. Fired. Do not ',
        date: '07/05/2017',
      },
      {
        first: 'alfredo wilson',
        picture: {
          thumbnail: 'https://randomuser.me/api/portraits/thumb/men/27.jpg',
        },
        post: 'Ding ding ding ding. Ding. Ding, ',
        date: '07/05/2017',
      },
      {
        first: 'david chambers',
        picture: {
          thumbnail: 'https://randomuser.me/api/portraits/thumb/men/36.jpg',
        },
        post: "Today's your lucky day. Look around, ",
        date: '07/05/2017',
      },
      {
        first: 'adam martinez',
        picture: {
          thumbnail: 'https://randomuser.me/api/portraits/thumb/men/10.jpg',
        },
        post: 'Wayfarer 515, radio check. Wayfarer ',
        date: '07/05/2017',
      },
      {
        first: 'peggy carter',
        picture: {
          thumbnail: 'https://randomuser.me/api/portraits/thumb/women/4.jpg',
        },
        post: "What's your name? Have a seat,",
        date: '07/05/2017',
      },
    ]

    if (this.state.isLoading) {
      return (
        <View style={{ padding: 8, backgroundColor: '#d1d1d1' }}>
          <ContentPlaceHolder />
          <ContentPlaceHolder />
          <ContentPlaceHolder />
          <ContentPlaceHolder />
        </View>
      )
    } else {
      return (
        <ListView
          style={{ backgroundColor: '#d1d1d1' }}
          contentContainerStyle={{ padding: 8 }}
          enableEmptySections={true}
          dataSource={this.state.dataSource}
          renderRow={rowData => this.listItem(rowData)}
        />
      )
    }
  }

  listItem(item) {
    return (
      <View style={styles.wrapper}>
        <View style={{ flexDirection: 'row' }}>
          <Image style={{ height: 60, width: 60 }} source={{ uri: item.picture.thumbnail }} />
          <View style={{ marginLeft: 12 }}>
            <Text style={{ fontSize: 16, fontWeight: 'bold' }}>{item.first}</Text>
            <Text style={{ fontSize: 10, marginTop: 8, color: '#757575' }}>{item.date}</Text>
          </View>
        </View>
        <Text style={{ marginTop: 24, fontSize: 22 }}>{item.post}</Text>
      </View>
    )
  }
}

const styles = StyleSheet.create({
  container: {
    flex: 1,
  },
  navBar: {
    justifyContent: 'center',
    alignItems: 'center',
    height: 64,
    paddingTop: 20,
    backgroundColor: '#20B2FF',
  },
  title: {
    fontSize: 17,
    letterSpacing: 0.5,
    fontWeight: '600',
    alignSelf: 'center',
    color: 'white',
  },
  wrapper: {
    height: 160,
    borderWidth: 1,
    borderRadius: 3,
    borderColor: '#dfe0e4',
    backgroundColor: '#fff',
    padding: 12,
    marginBottom: 12,
  },
})
And there you go

The app is now complete.