Today I am sharing an article about creating your own URL shortener simply and at no cost thanks to Netlify.
A quick reminder of what a URL shortener is, although I think many of you already know what we are talking about. The way it works is this: imagine that you have a relatively long URL like this one:
https://tibyverse.xyz/articles/website-analytics-with-fathom-and-docker
You copy that URL, go to a site such as Bitly.com, for example, and you get a URL like this:
https://example.com/gGofX
If services that do this already exist, why create our own service?
My starting point is that whenever I can avoid intermediary services and it does not take a significant amount of time to set up, I avoid them. Another reason is that when you centralize your links on these platforms, you are not safe from their terms of use changing, and tomorrow some of your links could be blocked for one reason or another.
How It Works
How will our URL shortener work? As I mentioned in the introduction, we will use Netlify. For those who do not know Netlify, it is a service that lets you host static sites simply and for free. You can connect them to your GitHub account and then arrange things so that whenever an update is made on a specific branch of your repository, Netlify redeploys your site with the new updates.
Netlify also lets you manage redirects through a _redirects file. For example, you have an example.com site on WordPress that lists all of your articles on the /my-articles route. You decide to migrate from WordPress to Gatsby and use Netlify to host your Gatsby site. During the migration, you rename your /my-articles route to /articles. Existing users who have the /my-articles route in their bookmarks do not know that it changed, so they try to access the page and receive a 404 error.
With the _redirects file, you can avoid that:
/my-article /articlesThis rule tells Netlify that users requesting the /my-article page must be redirected to the /articles page.
For our URL shortener, we will therefore use this file. The principle is simple: we will create a completely empty site that contains only the _redirects file with the redirects.
Configuration
To show you how to set up this system, I will use an example site.
The first step is to buy a fairly short domain name if you do not already have one. In this example, we will use go.example.com.
Then create a new folder named my-shortener and add the _redirects file:
mkdir my-shortener && cd my-shortener
touch _redirects
In the _redirects file, add the following code:
/* /[URL]Replace [URL] with the URL of your choice. This rule redirects all URLs on your domain that are not present in this file to the URL of your choice. In this example, I used https://example.com.
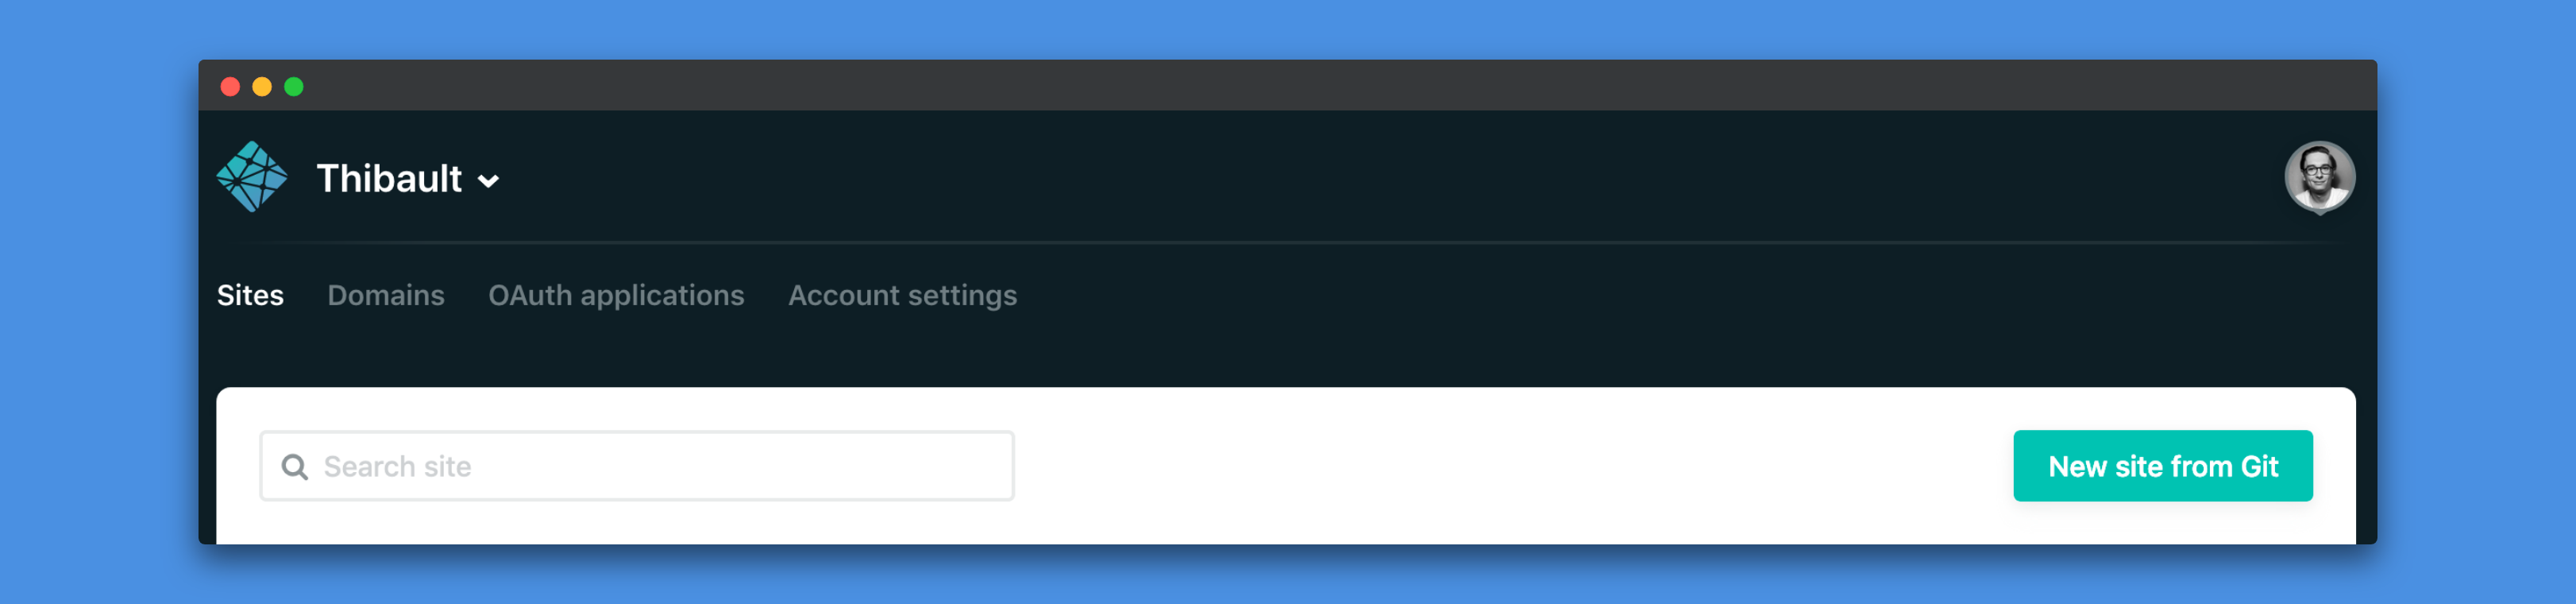
Now create a repository on GitHub or GitLab and push the code to it. Then go to Netlify and log in. Next, click the New site from Git button:
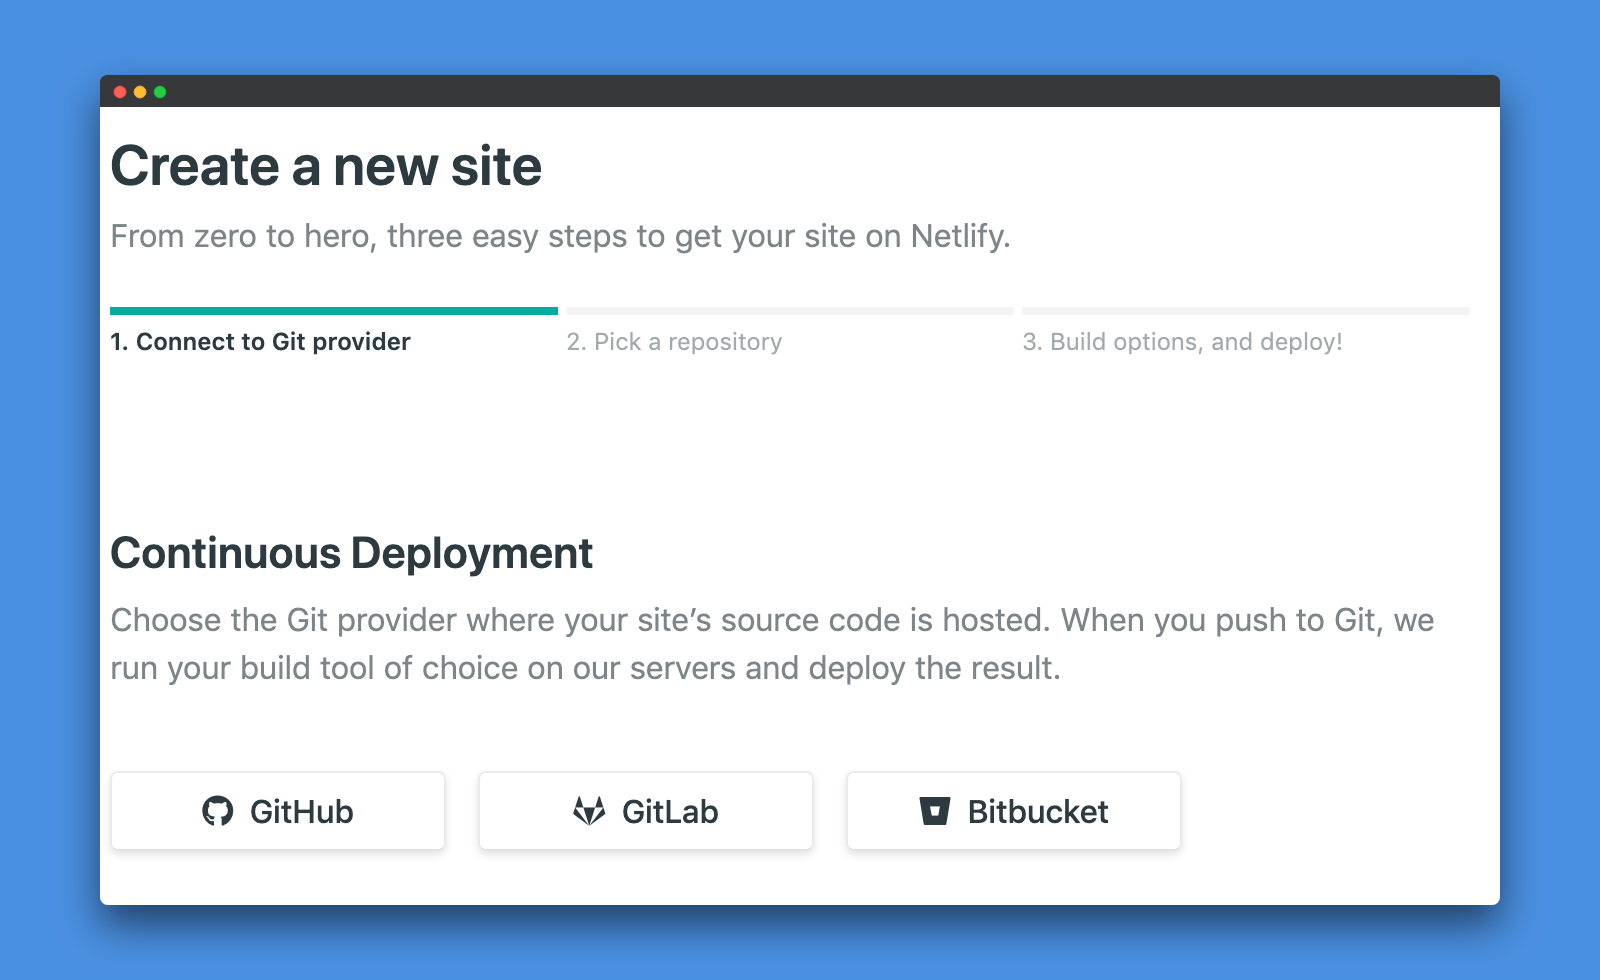
Select your platform: GitHub, GitLab, or Bitbucket.
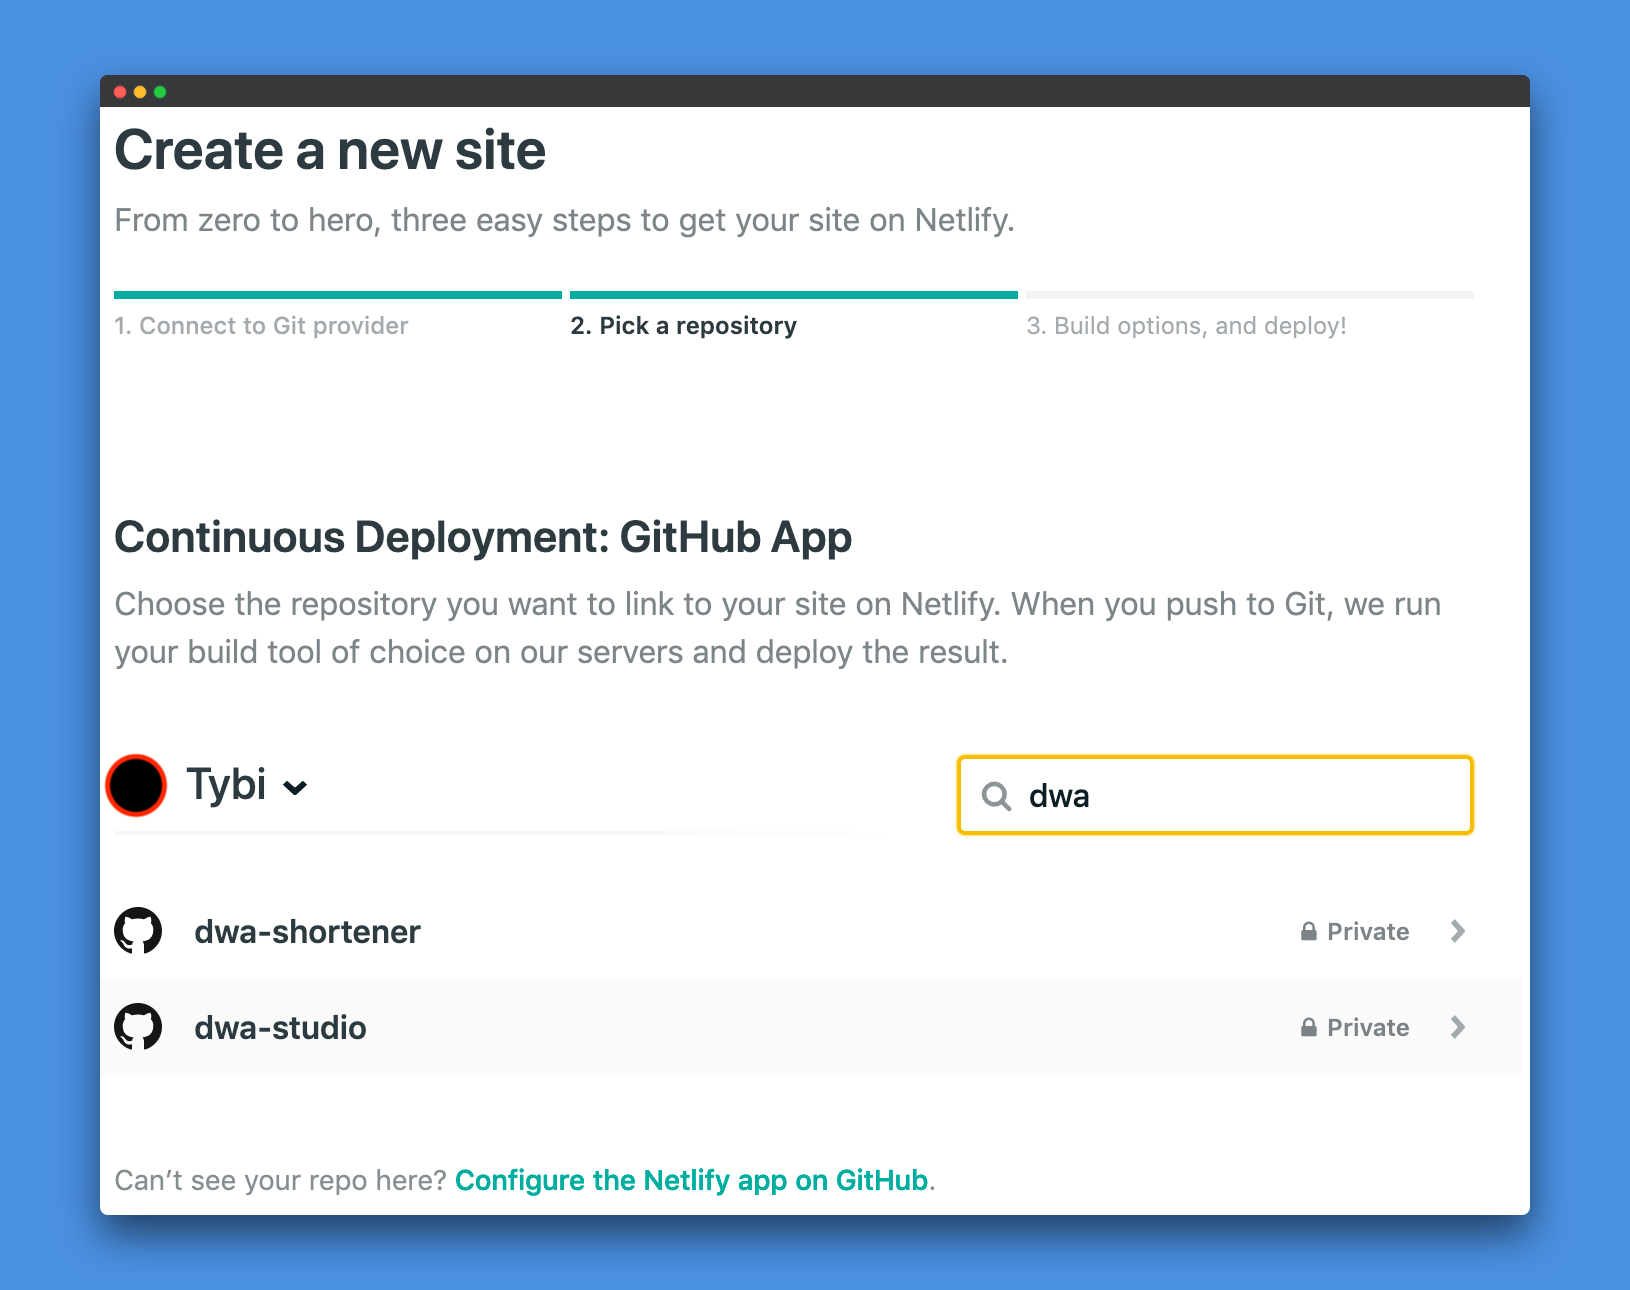
Then select the repository you just created:
And finally, deploy the site:
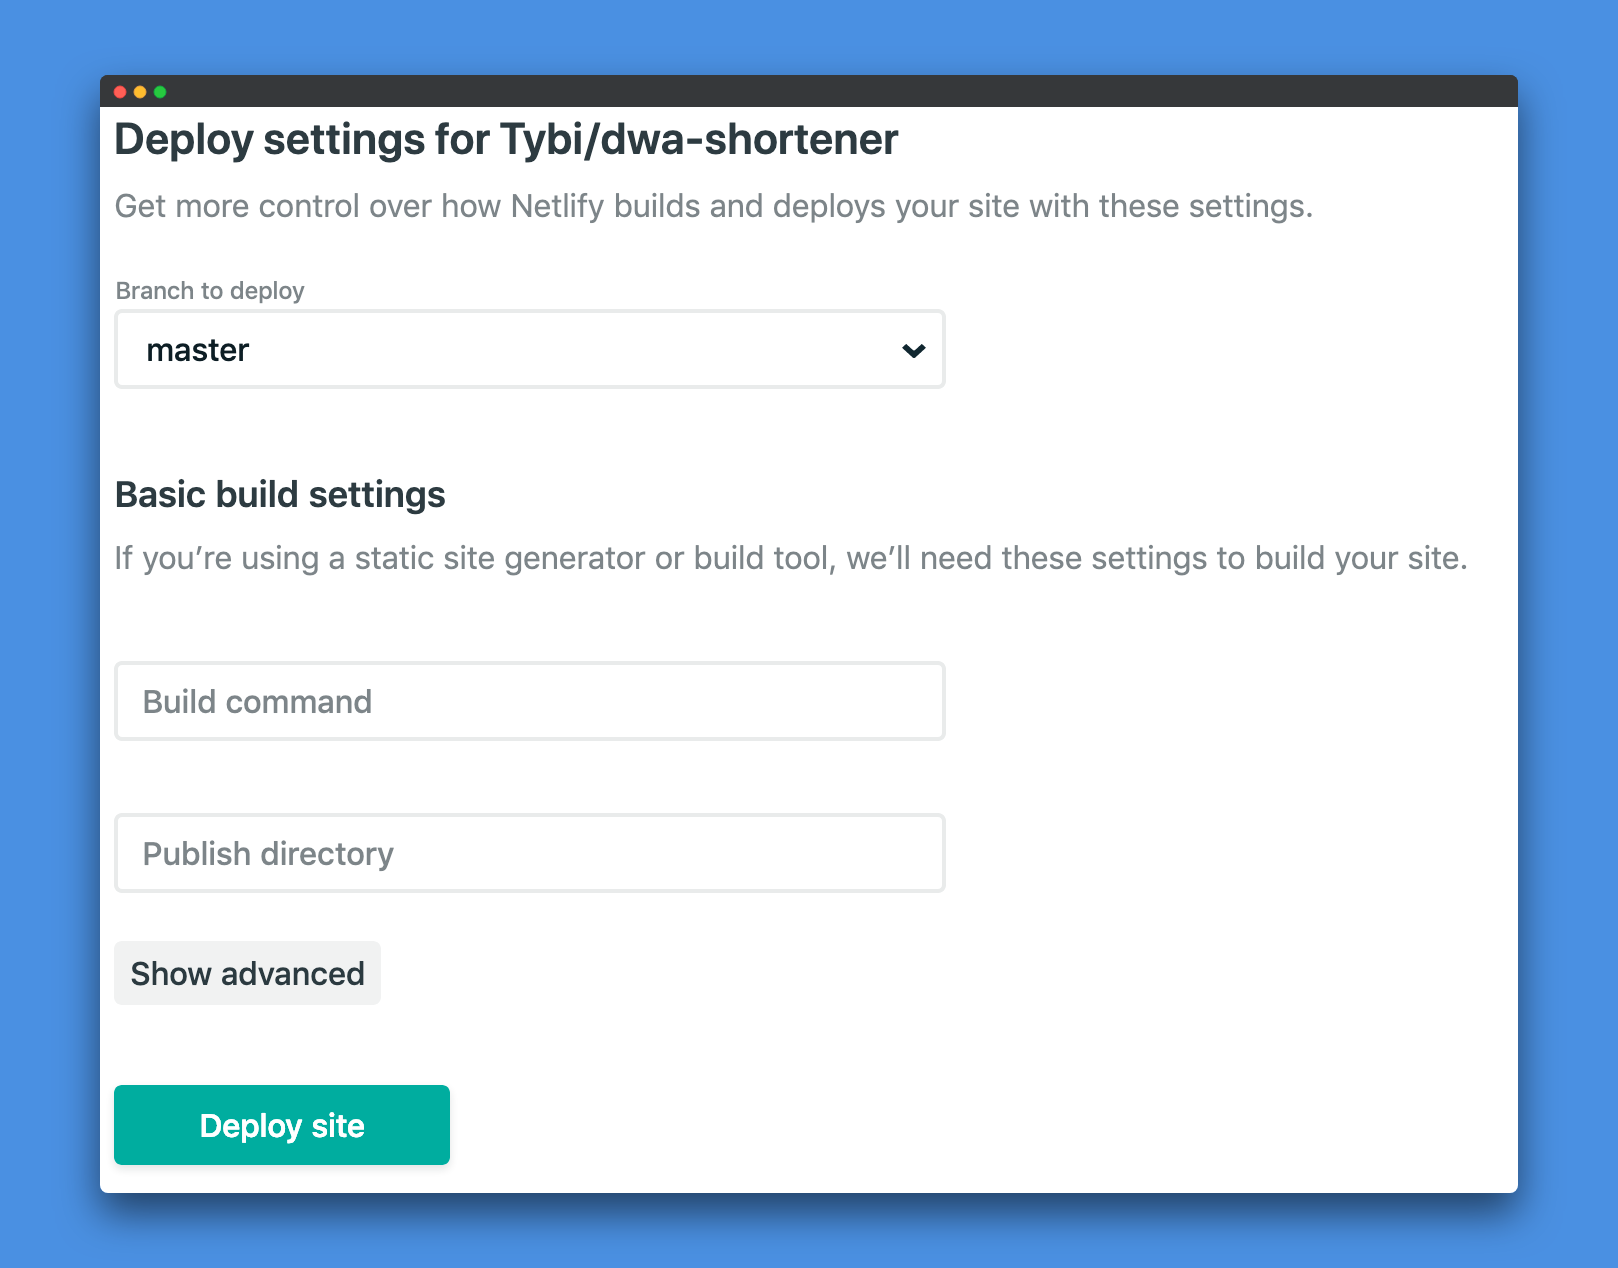
Once your site is deployed, you should have a URL like https://example.netlify.com. If you click your URL, you should be redirected to the URL we added earlier.
Now we will connect our domain. In Netlify, on your site's overview page, click Add Custom Domain.
Then configure Netlify DNS by clicking Set up Netlify DNS:
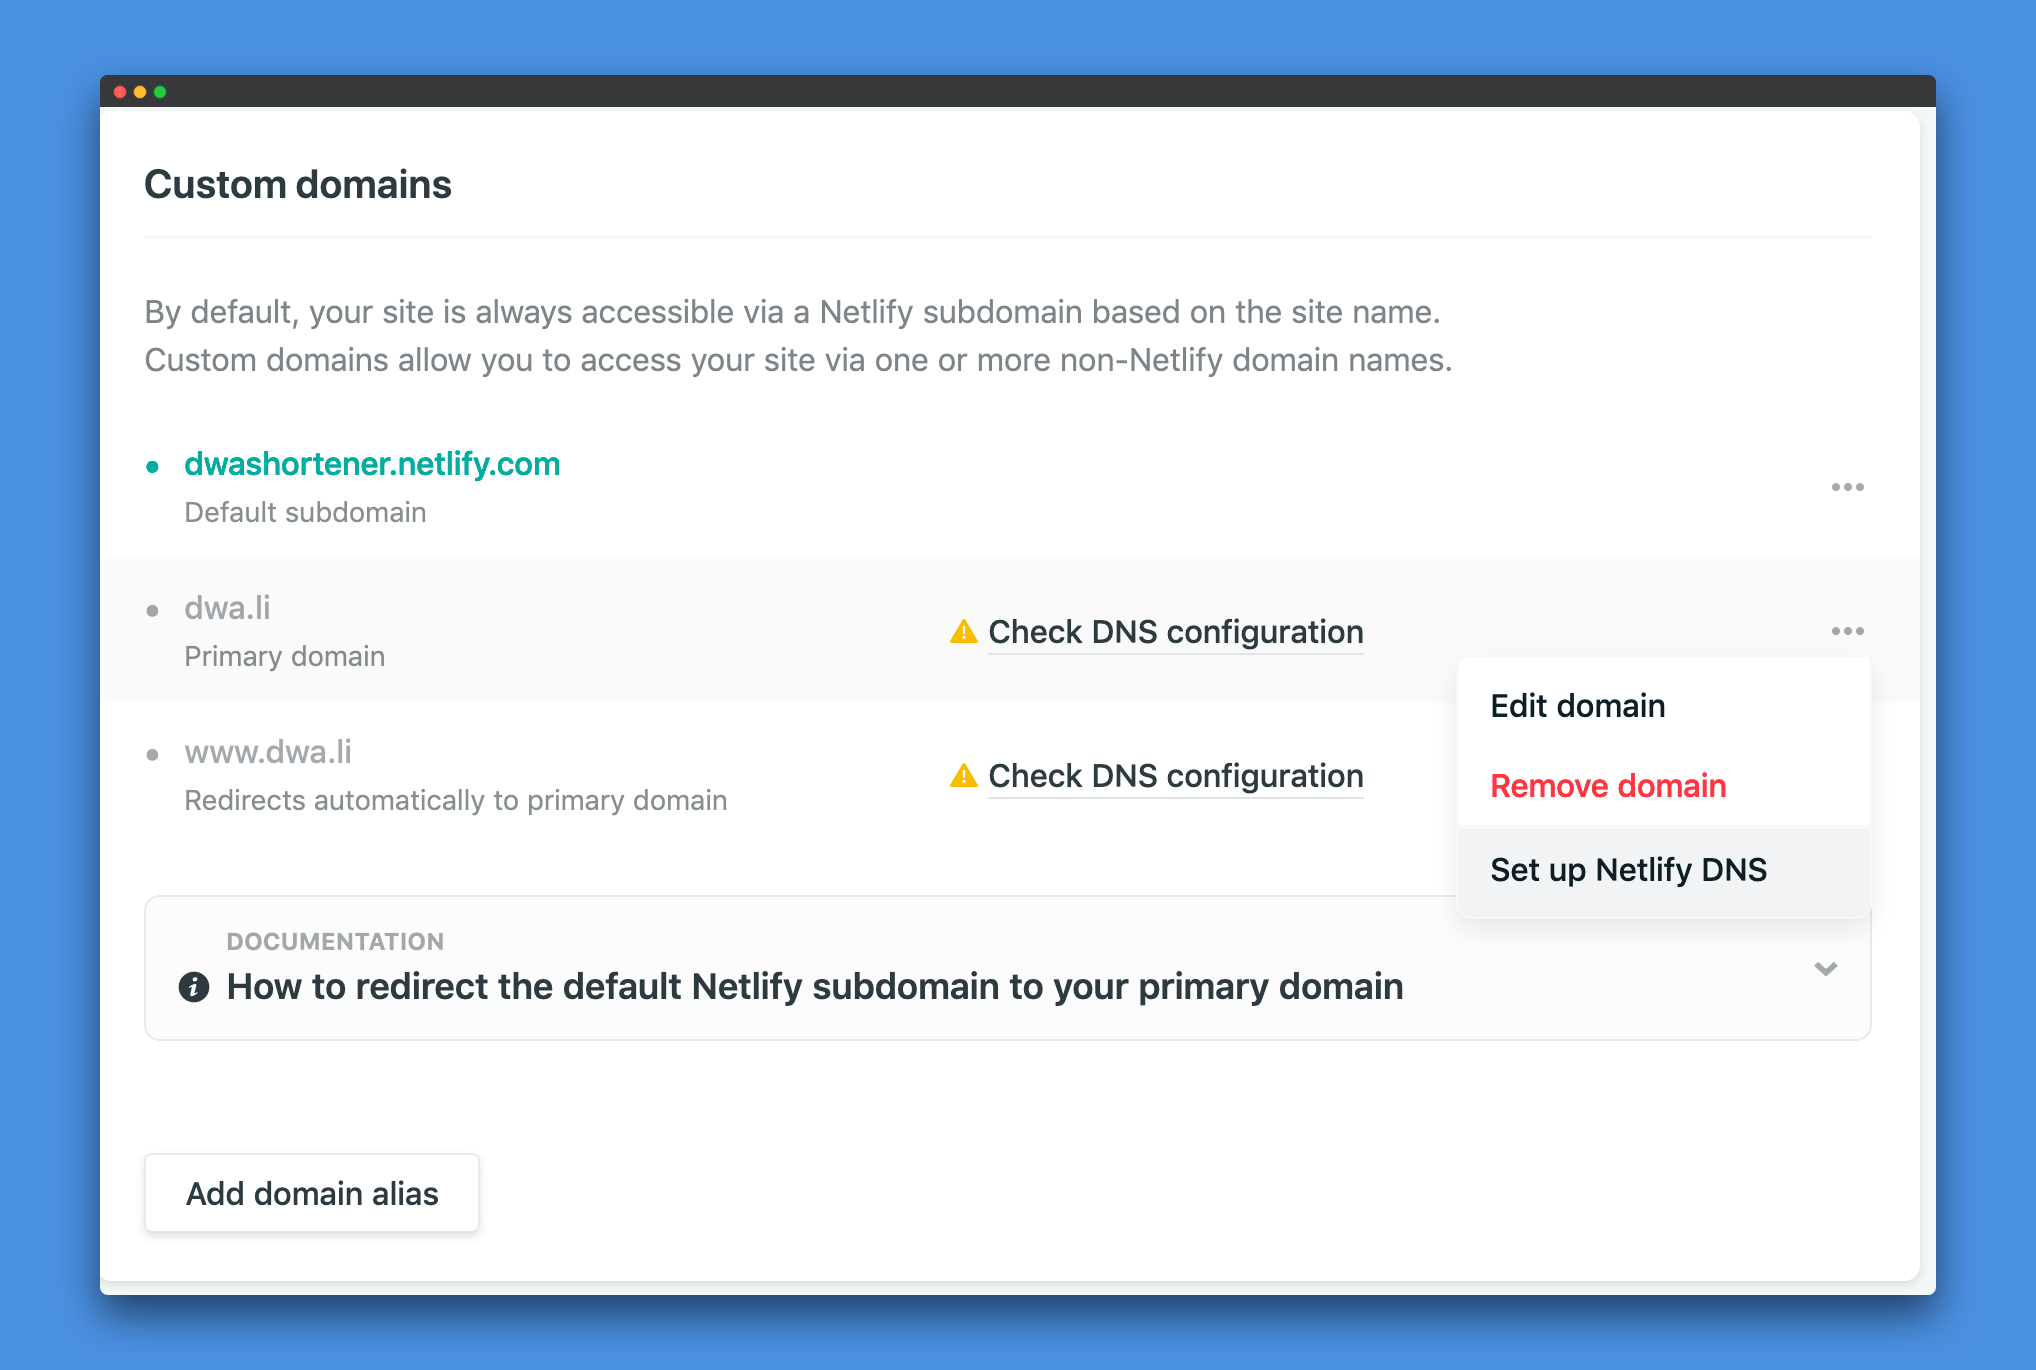
Follow the instructions until you get the list of Netlify servers:
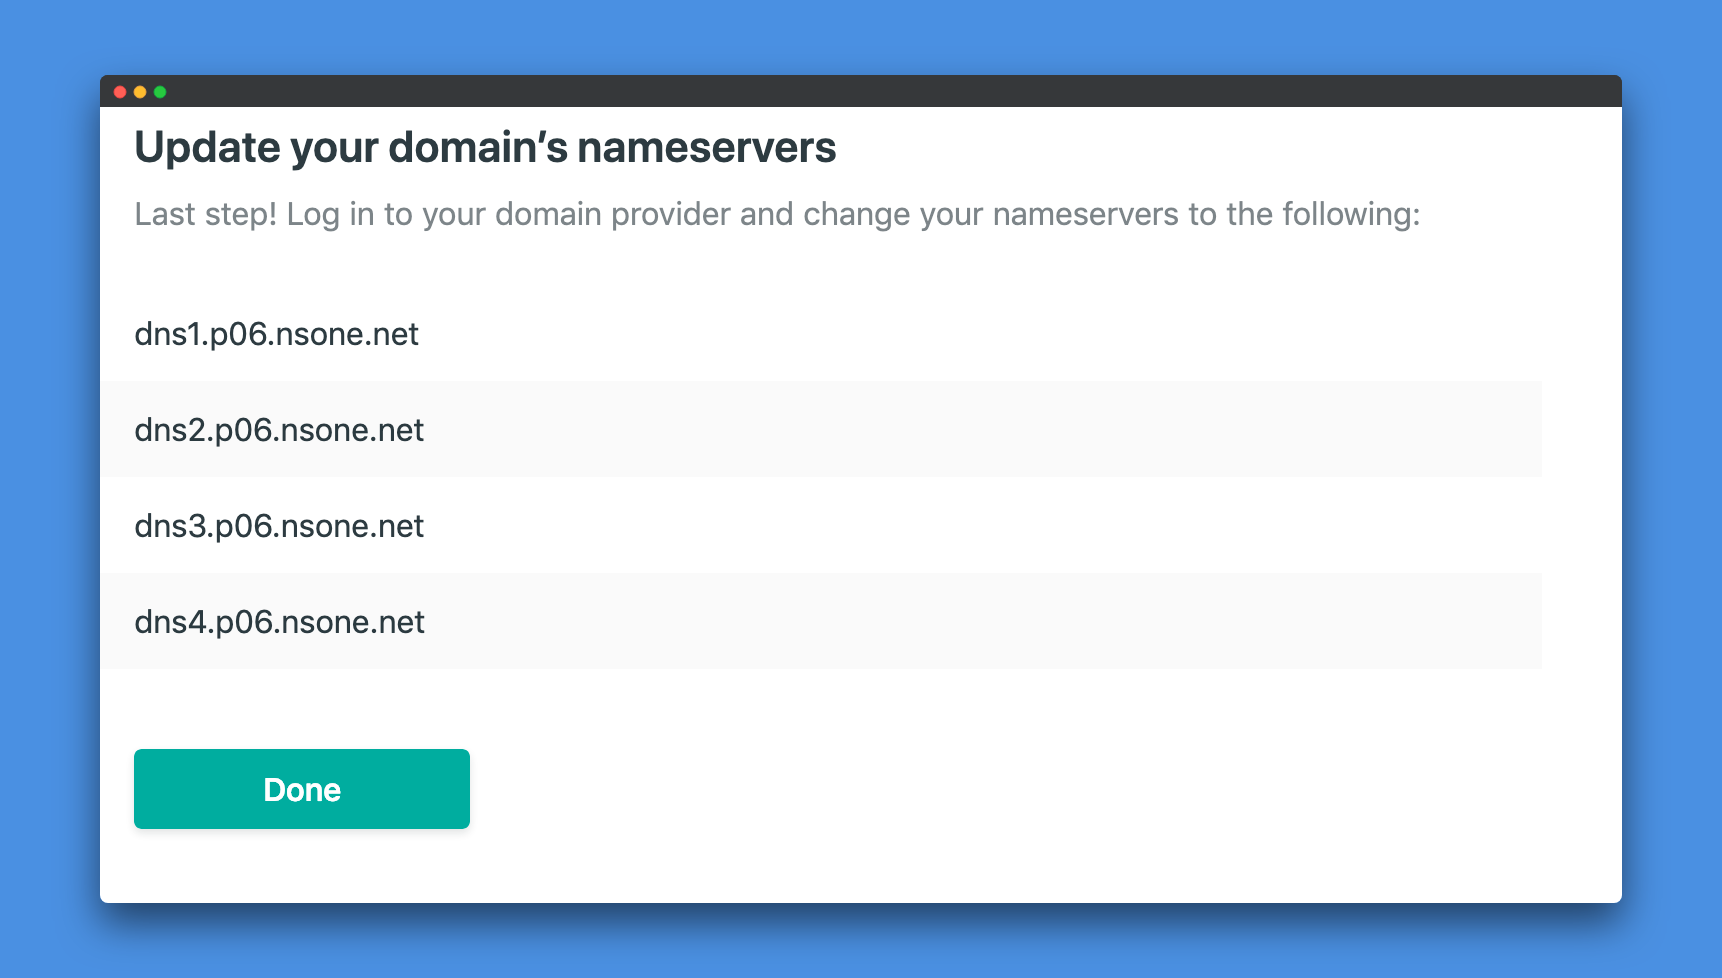
Finally, the last step is to modify your domain's DNS configuration on the site where you bought it. In this example I refer to OVH, but the way it works is roughly the same with all resellers.
On OVH, go to your customer area and select your domain. Once on your domain administration page, click DNS servers, then Modify DNS servers. Next, replace the list with the names of the servers provided by Netlify:
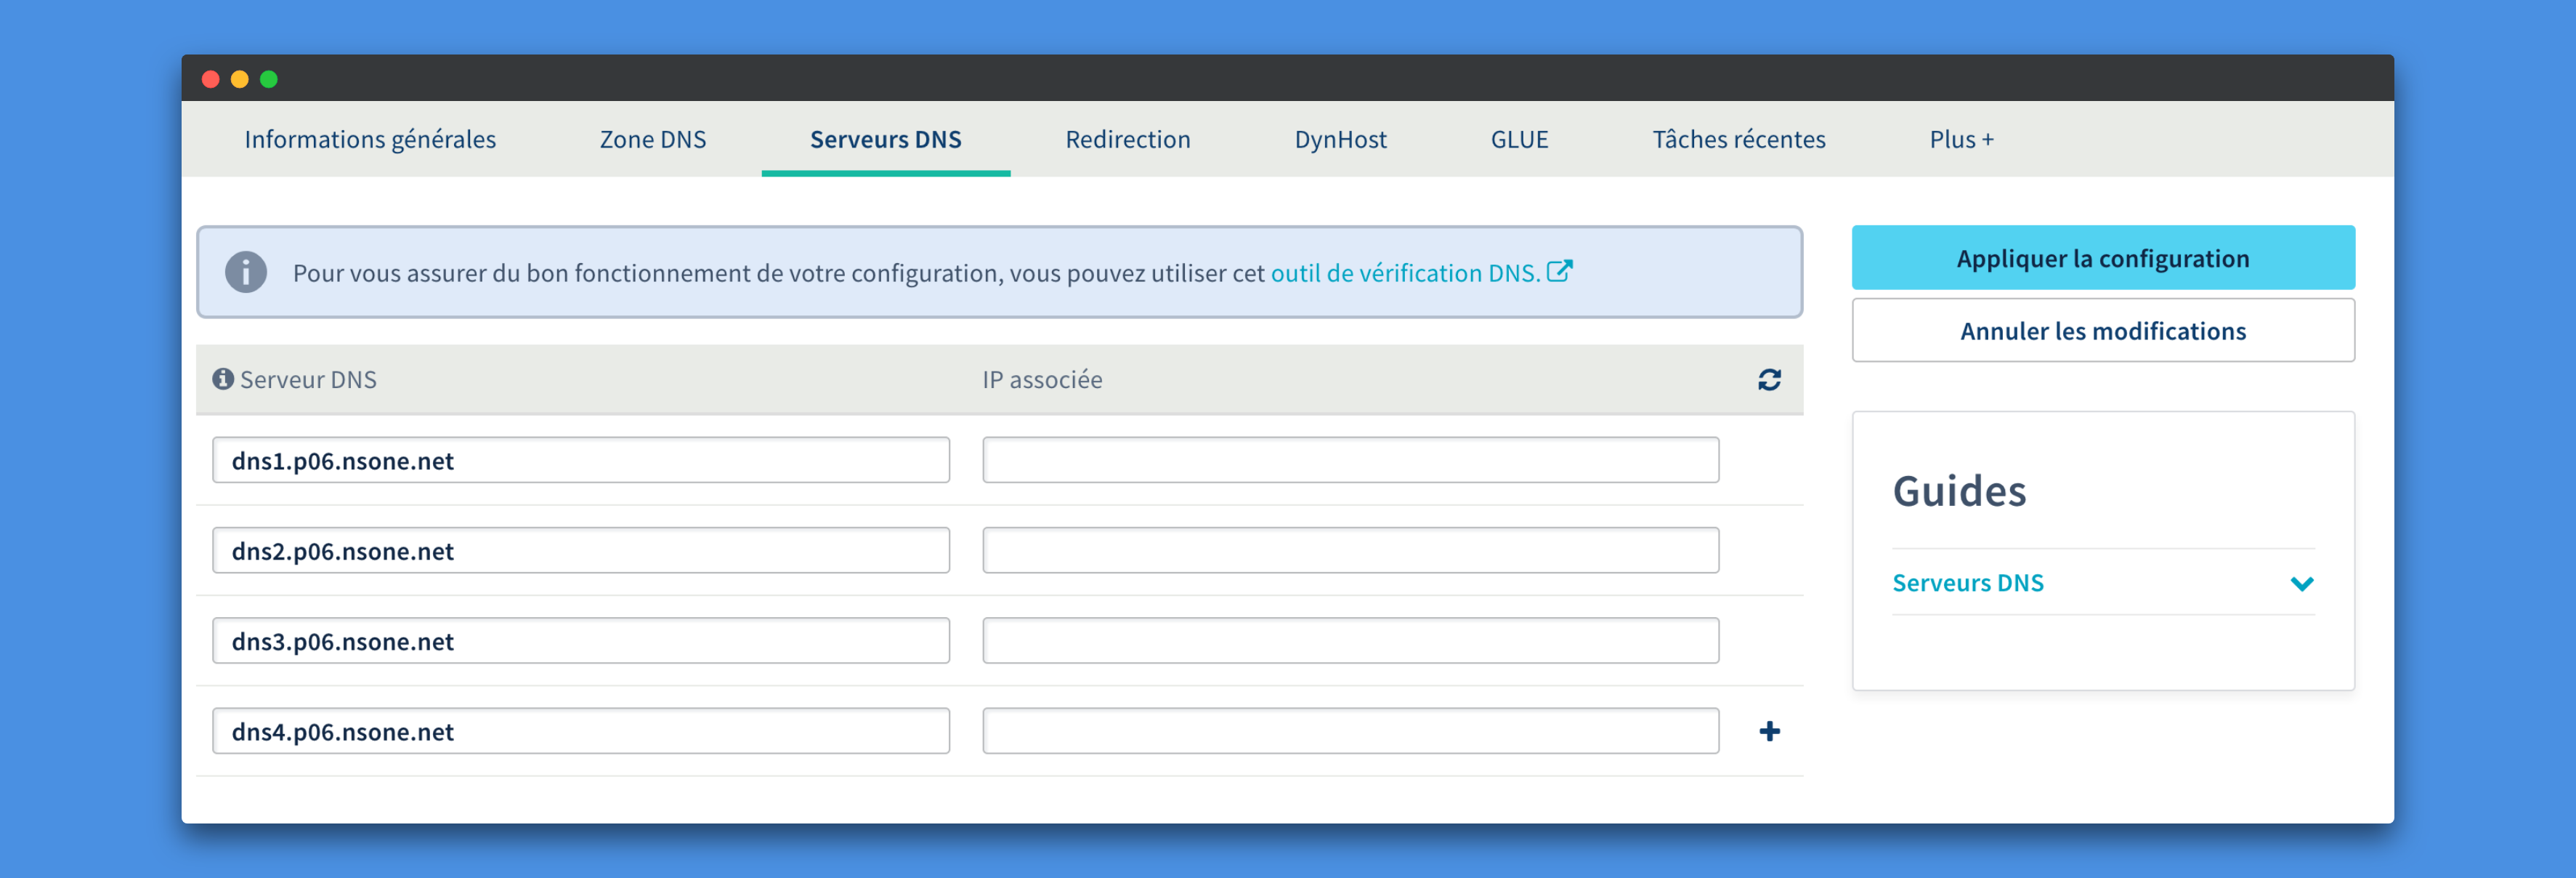
After saving your configuration, you will need to wait a while, around 24 to 48 hours, for propagation to complete. Once propagation is finished, you can enable HTTPS simply.
Using netlify-shortener
Now that we have the basis of our system, we will go a bit further to make it easier and more practical to use.
For now, whenever we want to add a URL, we have to open the _redirects file, add our new URL, and then push the changes to Git so Netlify starts a deployment.
To simplify all of that, we will use an npm package named netlify-shortener. Once installed, this package is used with the command:
npm run shortenThis command does three things:
npm run shorten: formats the _redirects file.npm run shorten https://yahoo.com: creates a short URL forhttps://yahoo.comwith the following format:myurl/iO2qb.npm run shorten https://github.com gh: creates a short URL forhttps://github.comwith the following format:myurl/gh.
When the command runs, the package performs several actions:
- Generate a code if none is provided.
- Check that our URL is valid.
- Add the URL to the _redirects file.
- Run a commit and push the changes to Git, which triggers the deployment on Netlify.
- Copy the generated URL.
To install the package, move into the my-shortener folder and run this command:
yarn add netlify-shortener --devThen open the generated package.json file and replace the code with this:
{
  "name": "my-shortener",
  "baseUrl": "https://go.example.com",
  "scripts": {
    "shorten": "netlify-shortener"
  }
}
Then add a .gitignore file with this content so node_modules is not added to your repository:
node_modulesPush your changes, and then you can use the command:
yarn shorten your-urlor:
npm run shorten your-urlGlobal Usage
The only remaining constraint is that you must be inside your project folder to run the command. Fortunately, you can run this command from anywhere by making the following changes:
- Add the following code to the package.json file:
{ "bin": { "shorten": "cli.js" } }- Then add a file named cli.js with the following code:
#!/usr/bin/env node
require('netlify-shortener');- From the my-shortener folder, run the command:
npm linkAnd there you have it: you now have your own URL shortener.